I think it looks great! Reminds me of Dolly Parton’s song, Coat of Many Colors :). If that’s what you do when low in inspiration I would like to see one of when you’re inspired, lol! Want to sell, barter or trade one? I’ll post some photos of some of my projects if you agree to barter or trade so you can see my crapmanship.
3 Likes
Not sure if you know this trick, using copier toner. Spray the piece once with a clear coat then spread a thin coat of toner clean as much as possible from the high places. Spray it again so it sets the toner on the low/recessed parts. Sand the high parts to completely clean the toner (if you were not able when applying the toner) spray clear coat again. Make sure you don’t breath the toner dust though, is bad for your lungs. Sometimes the contrast turns out great some other it looks too fake.
Great idea, maybe it should warrant a “Members Projects Gallery post.” Should call it Stepho’s love me wall, lol!
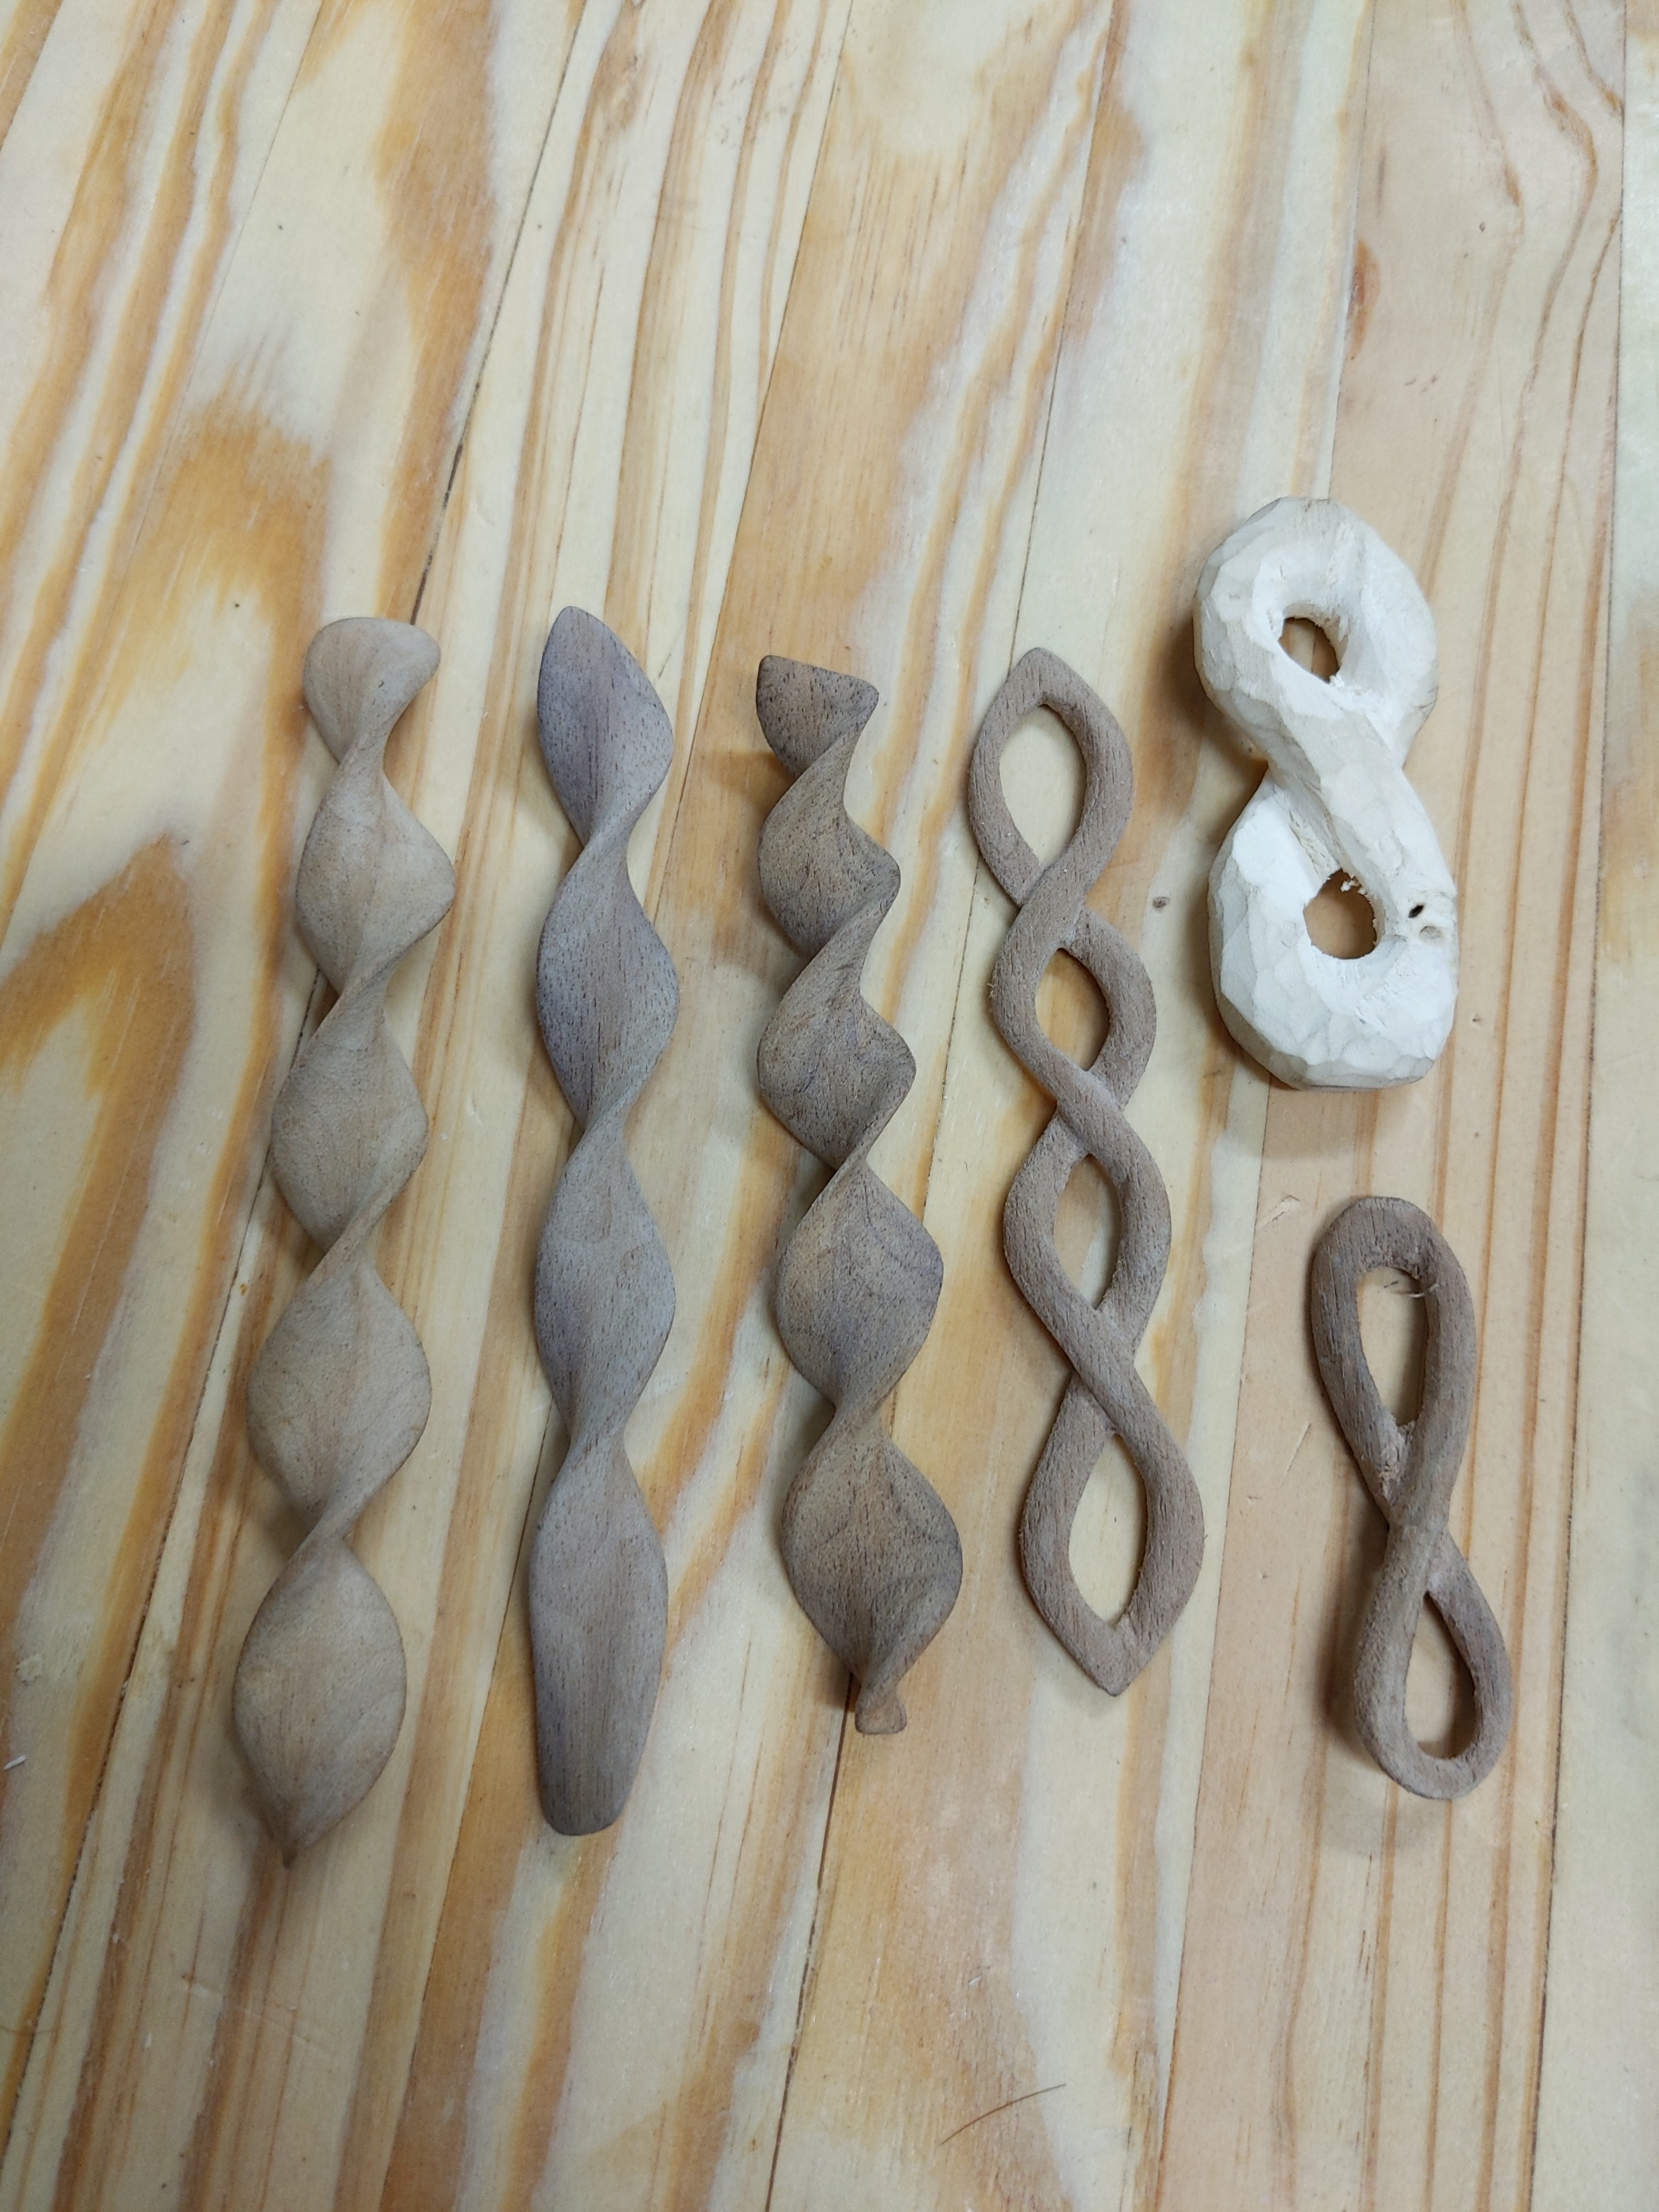
I’ve been trying my hand at whittling for about a year now, and have a few pieces that are finally getting close to finished… Here’s the pieces I’ve been putting some finishing touches on recently. All walnut except for the top right one which is some really pretty white wood that I have been unable to find out the name of (if anyone has any ideas please let me know). Definitely some DNA inspiration going on…
4 Likes
I’ve done a few since I joined. Cnc routed sign, filled with epoxy. Toolbox top glue up and sizing. Cnc flattened epoxy pour coffee table, and my most recent, cnc carved Aluminum badge for a charity donation.
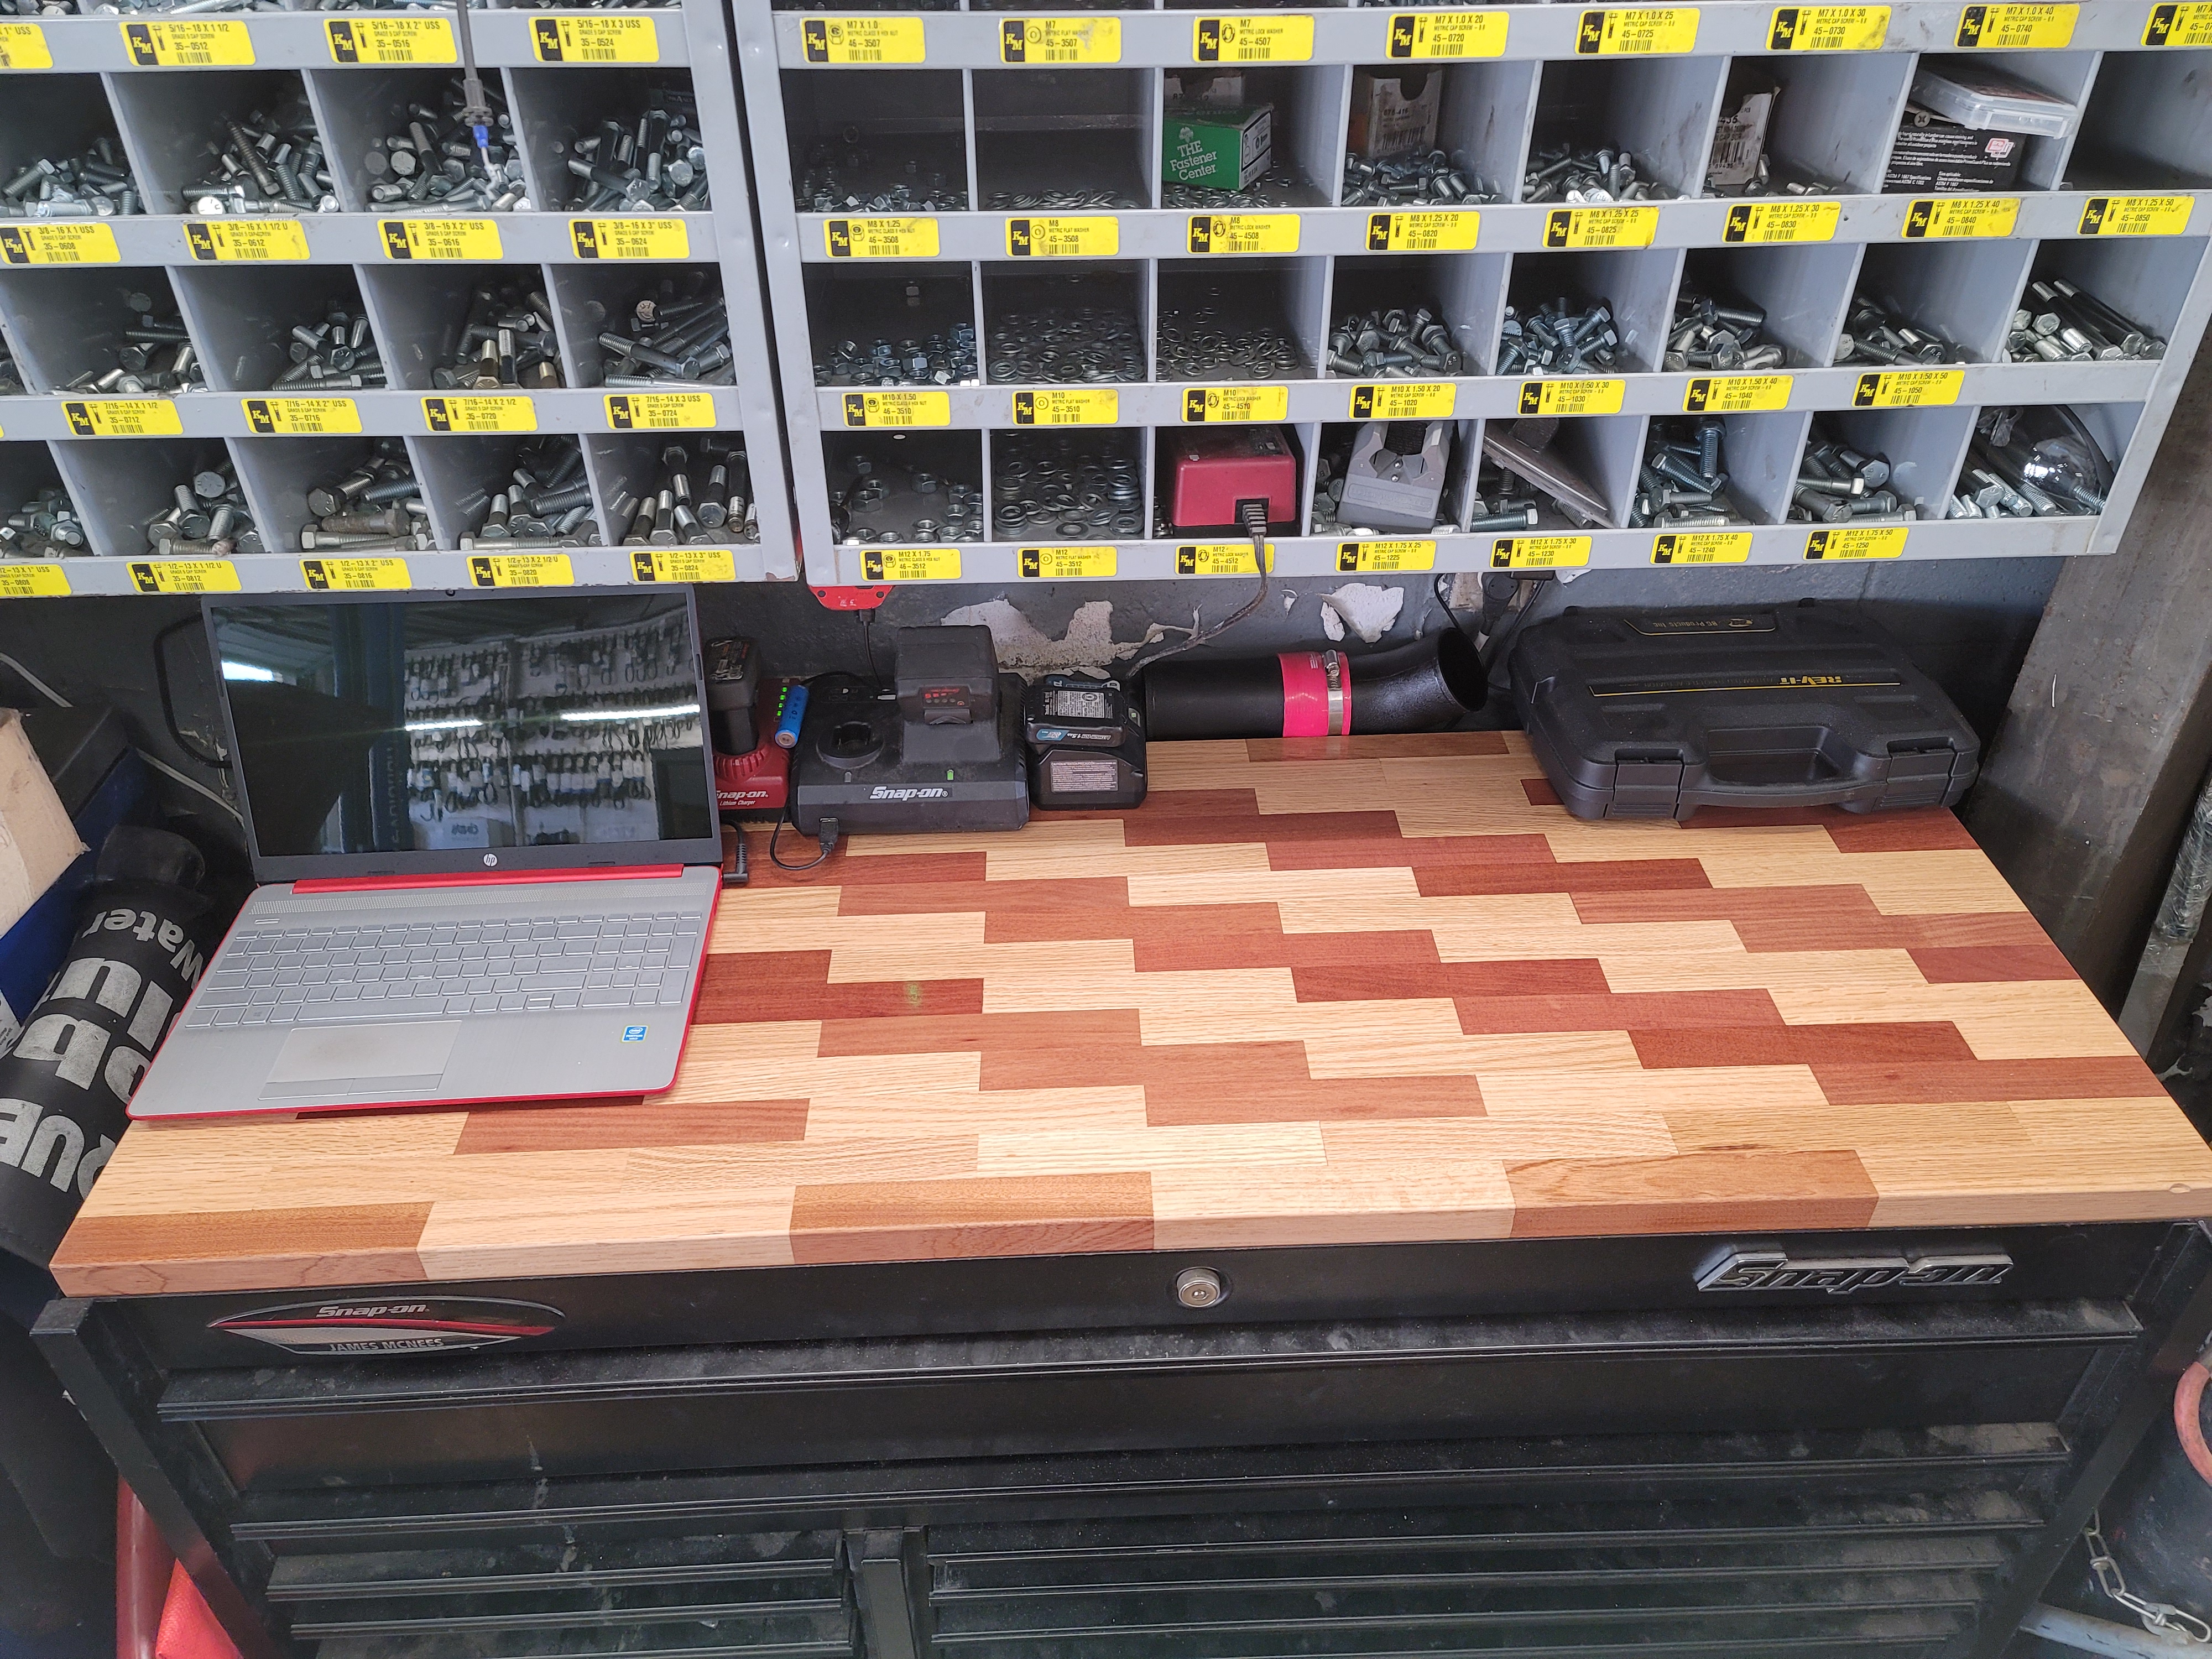

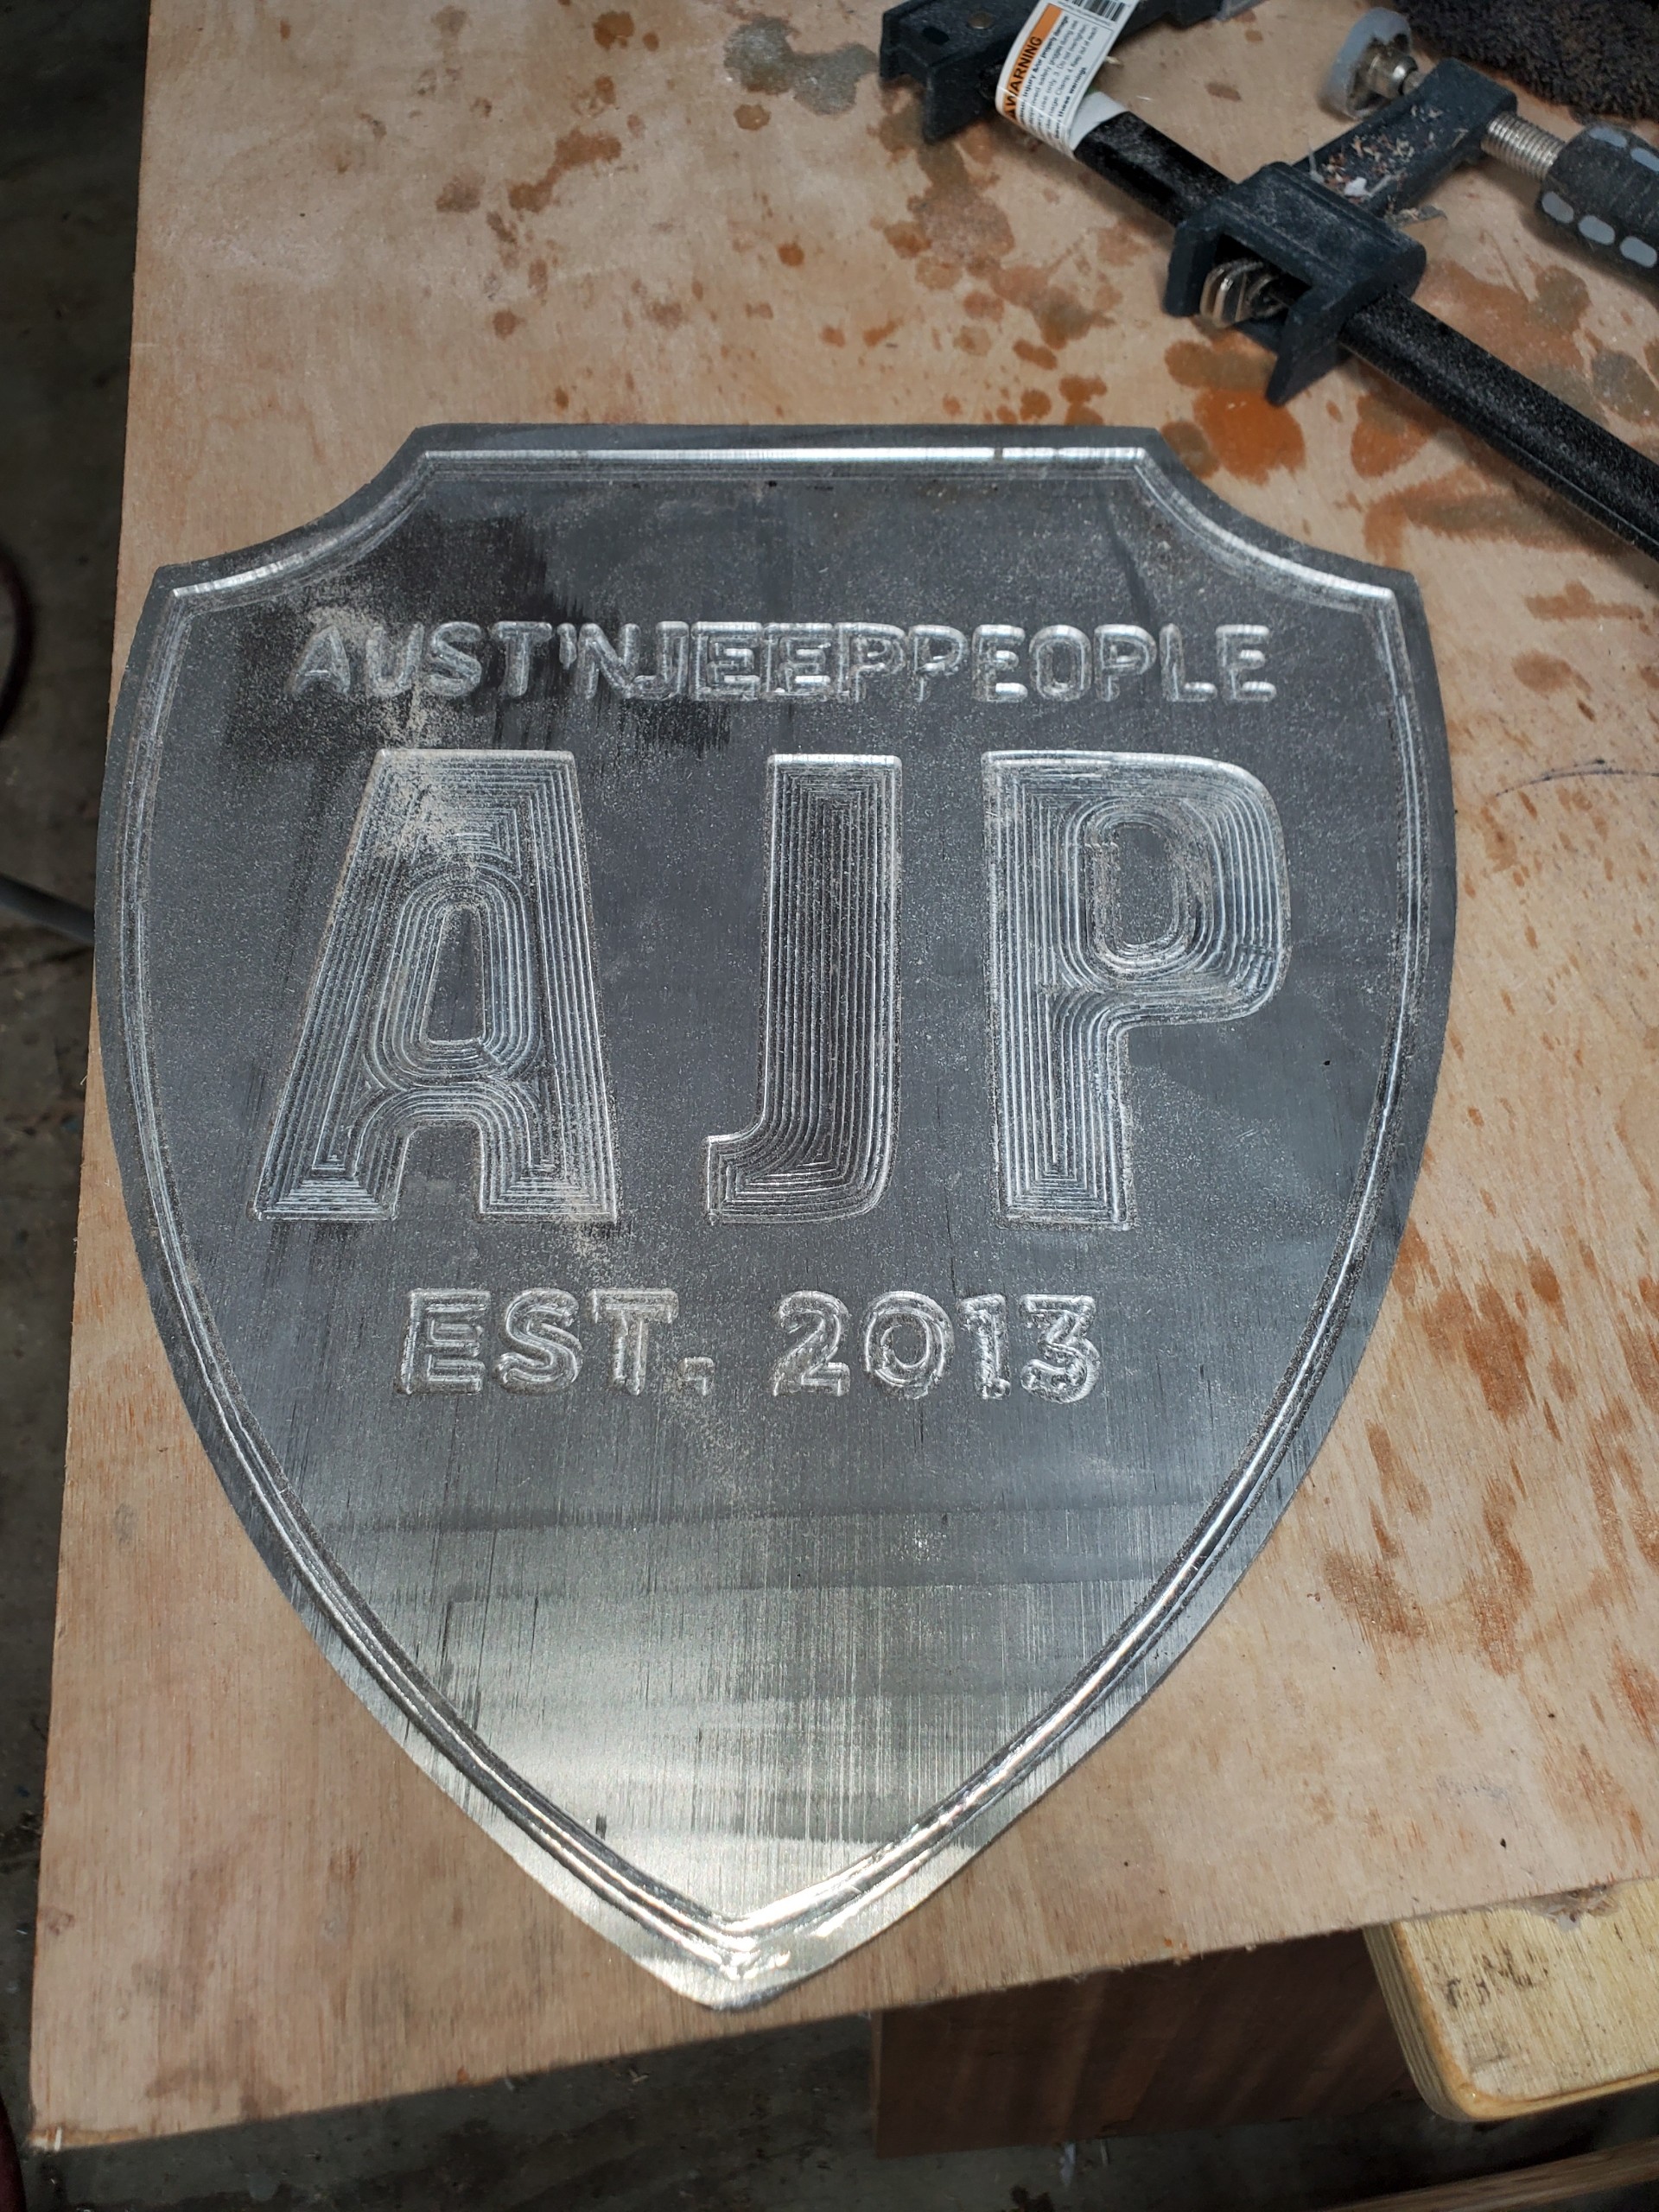
6 Likes
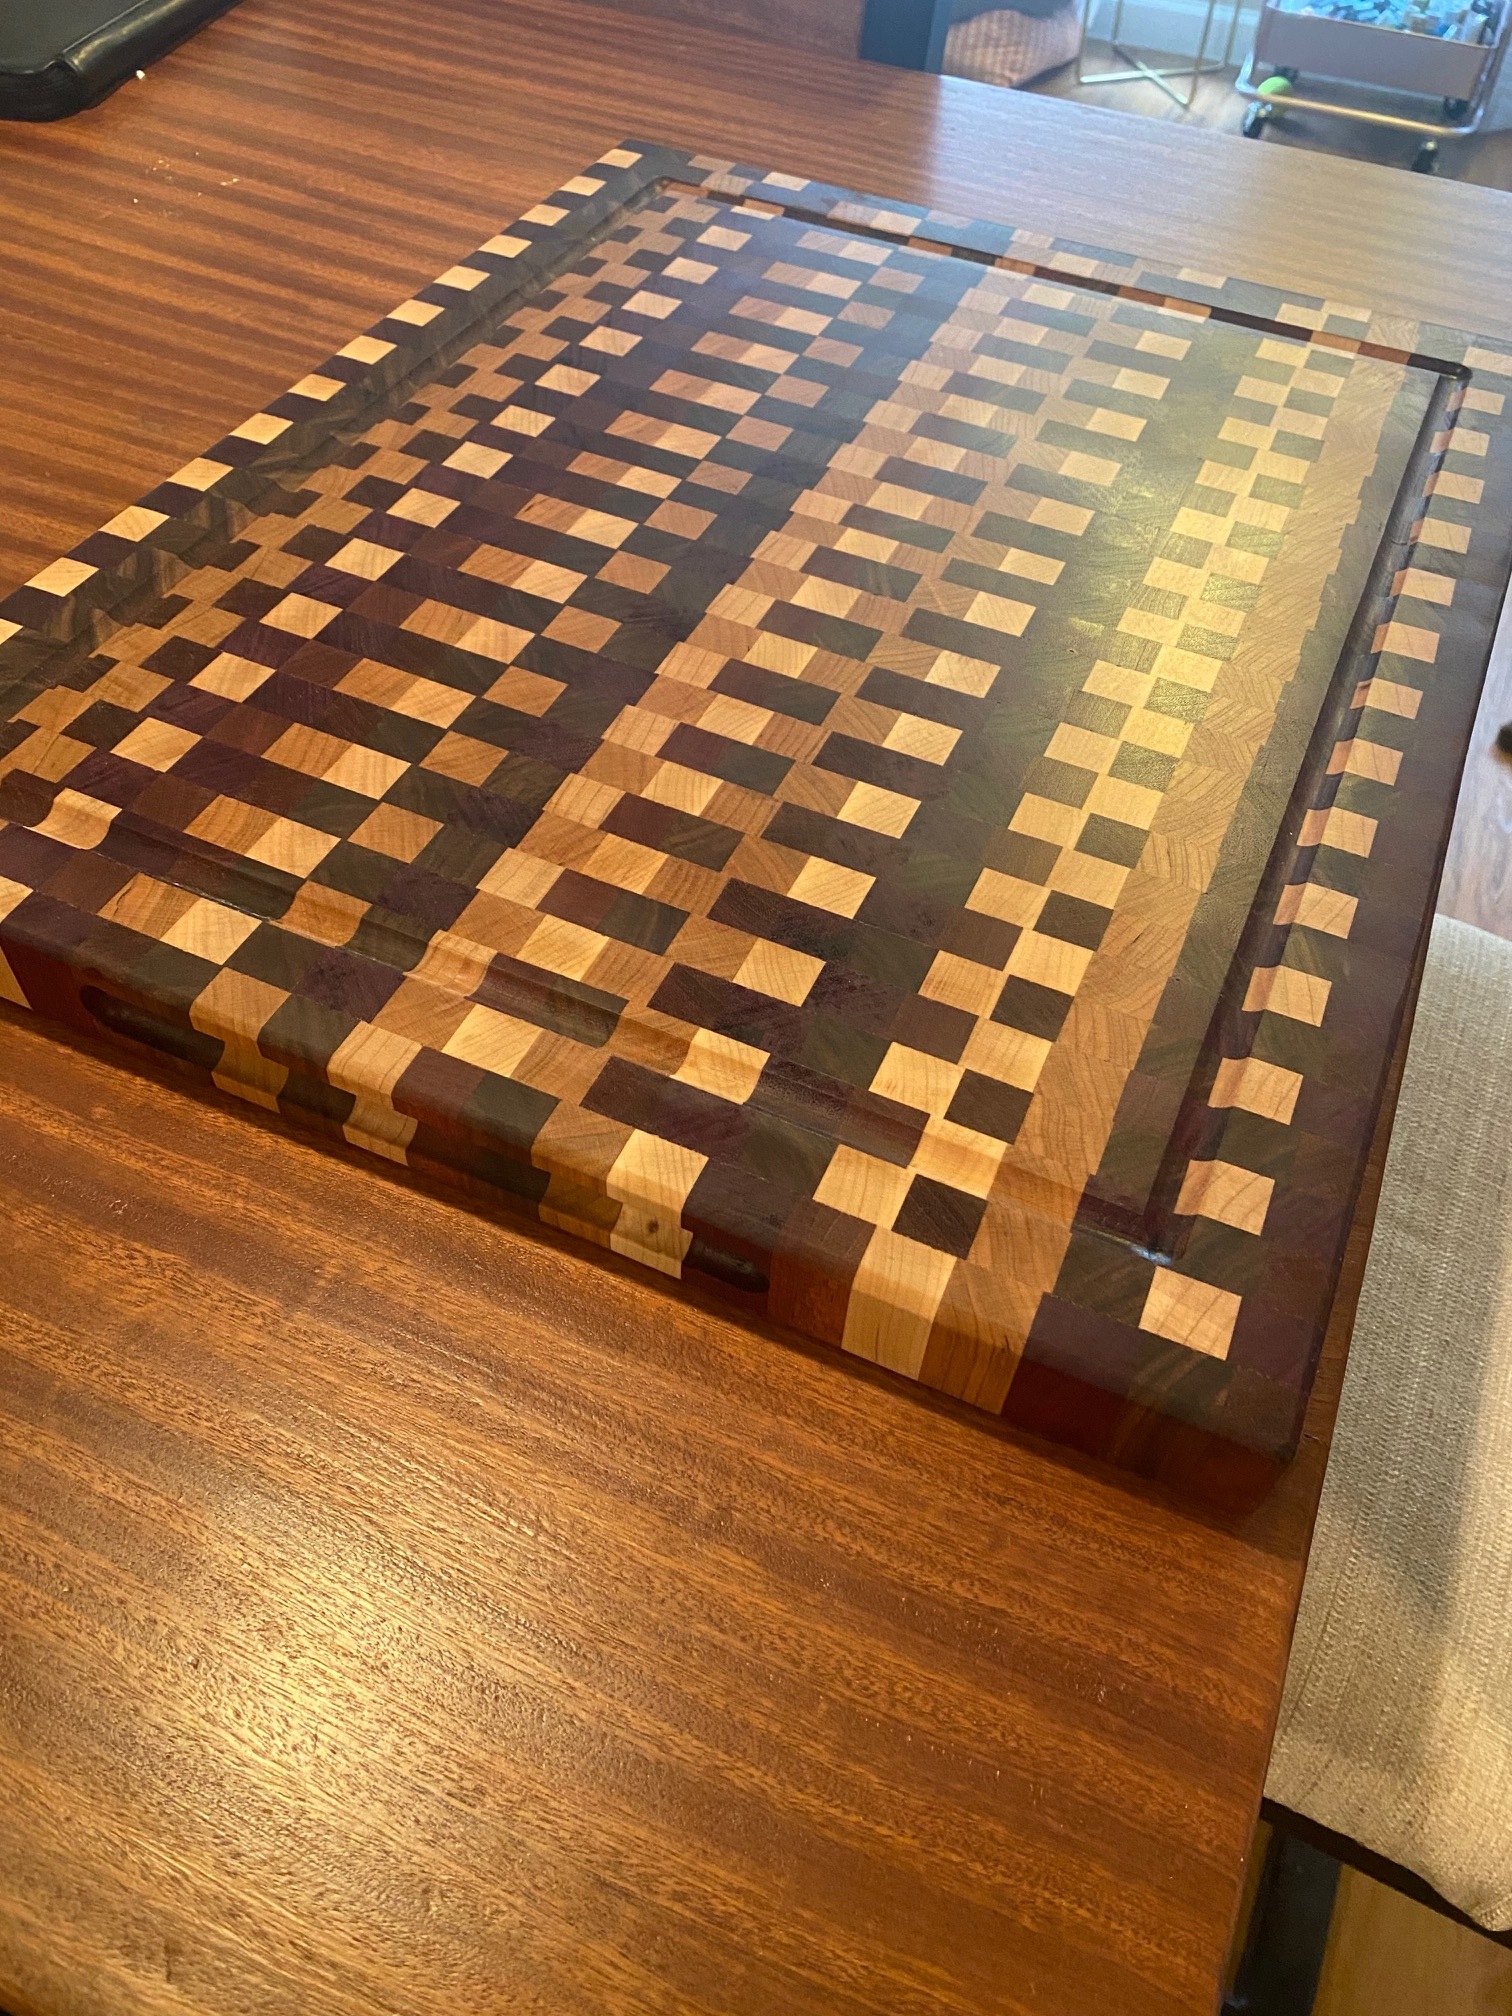
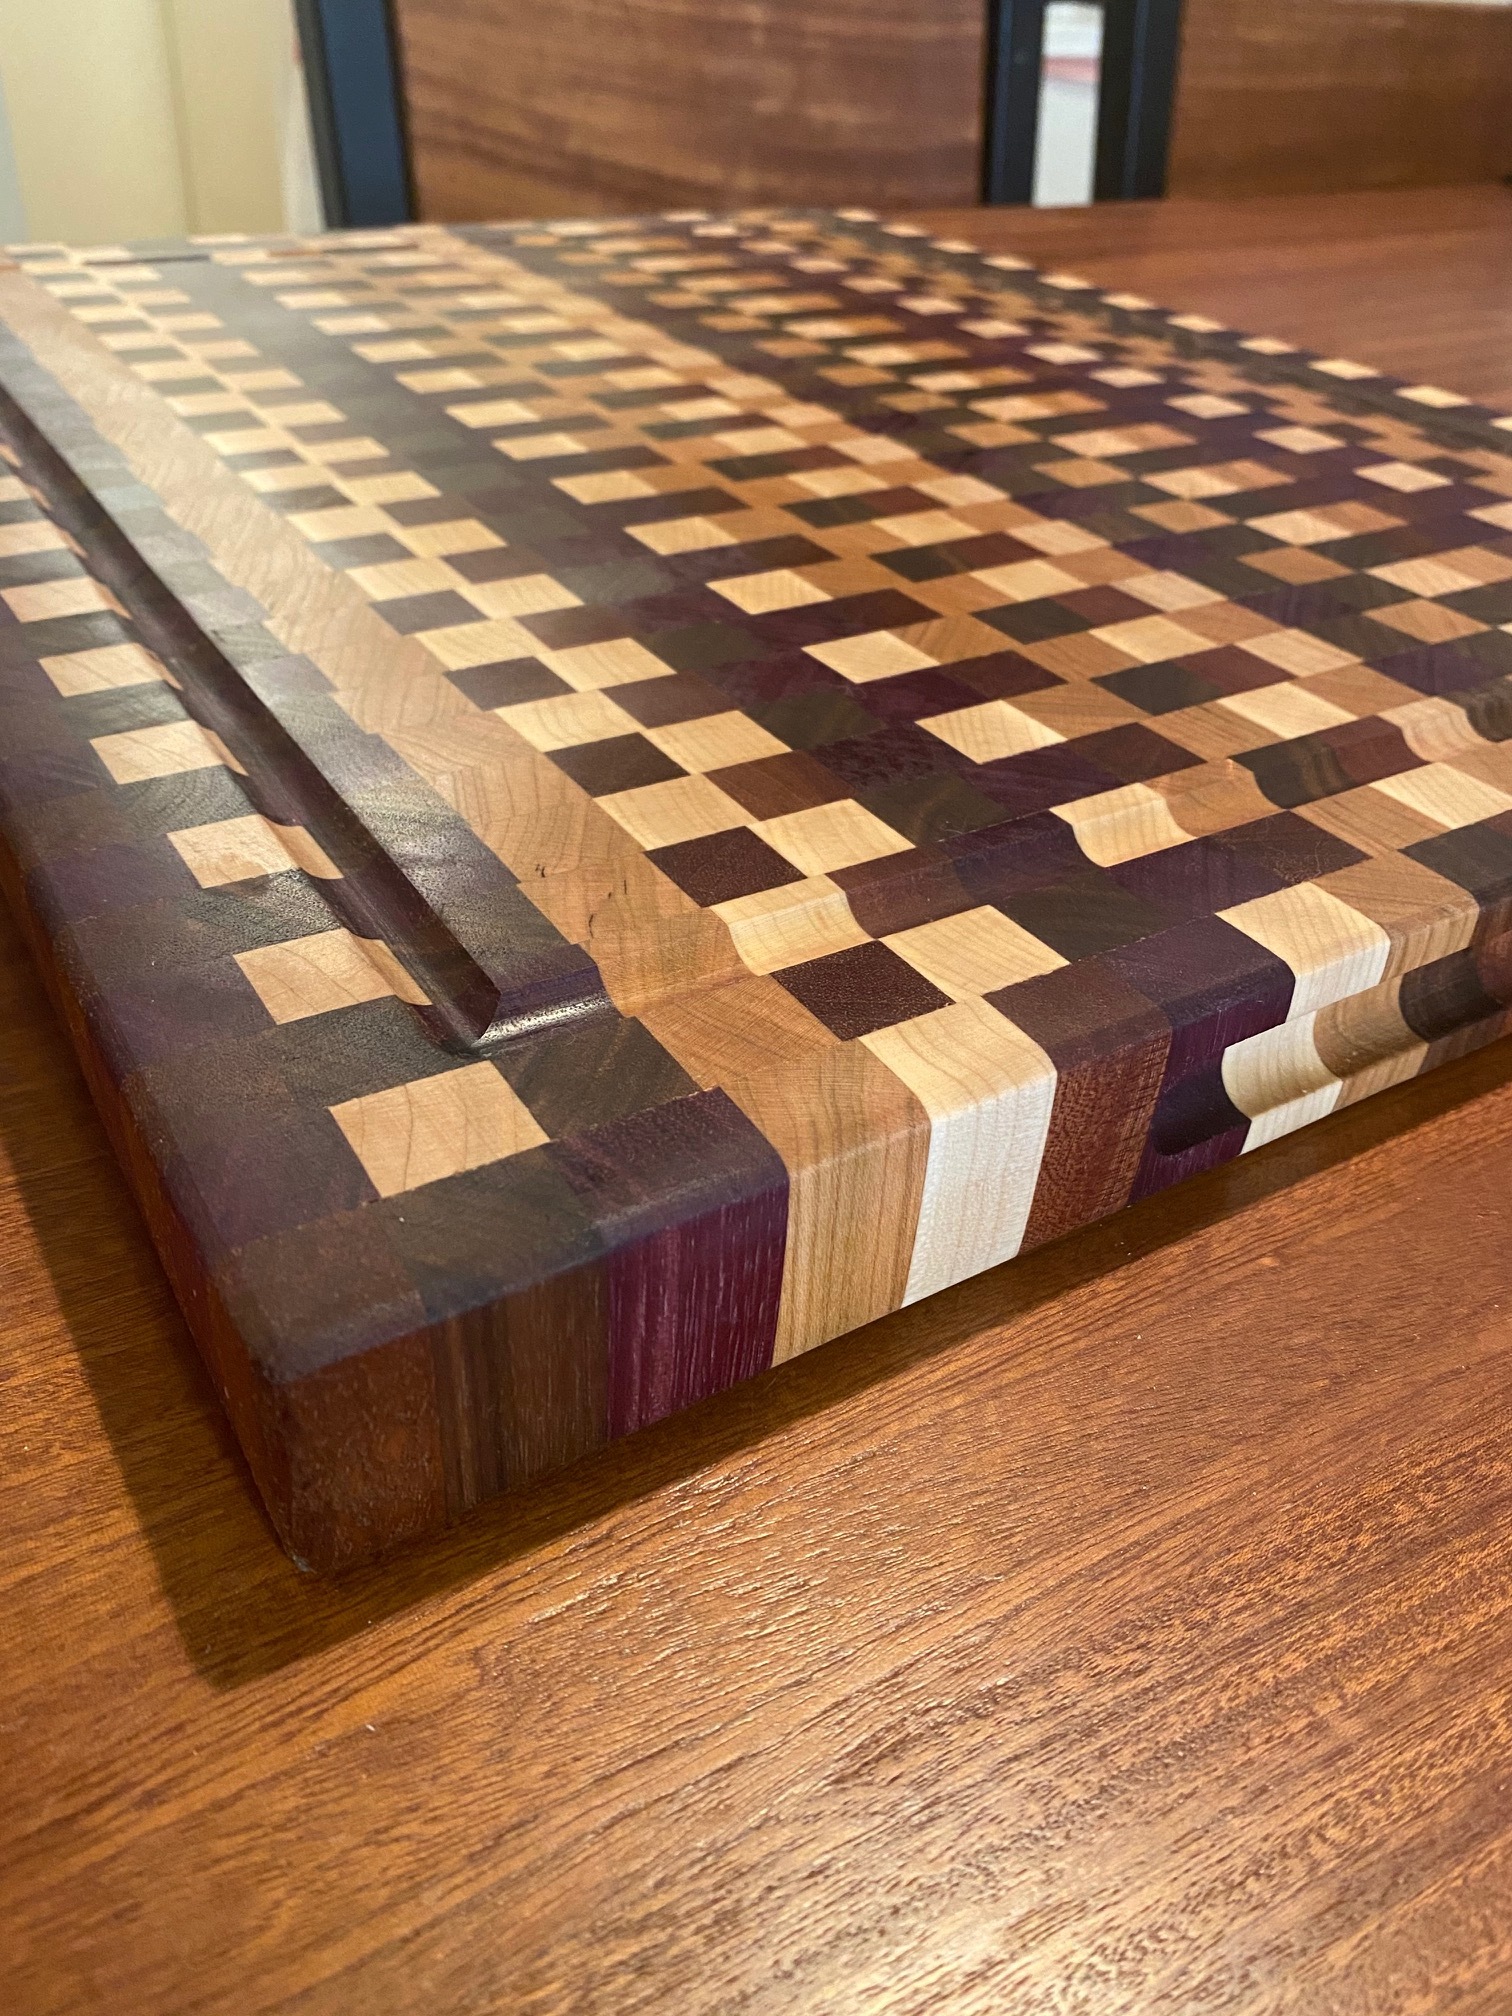
That brick cutting board is dope! I’ve been wanting to make one myself.
1 Like
Hi Everyone, I hope you Christmas vacation is going well.
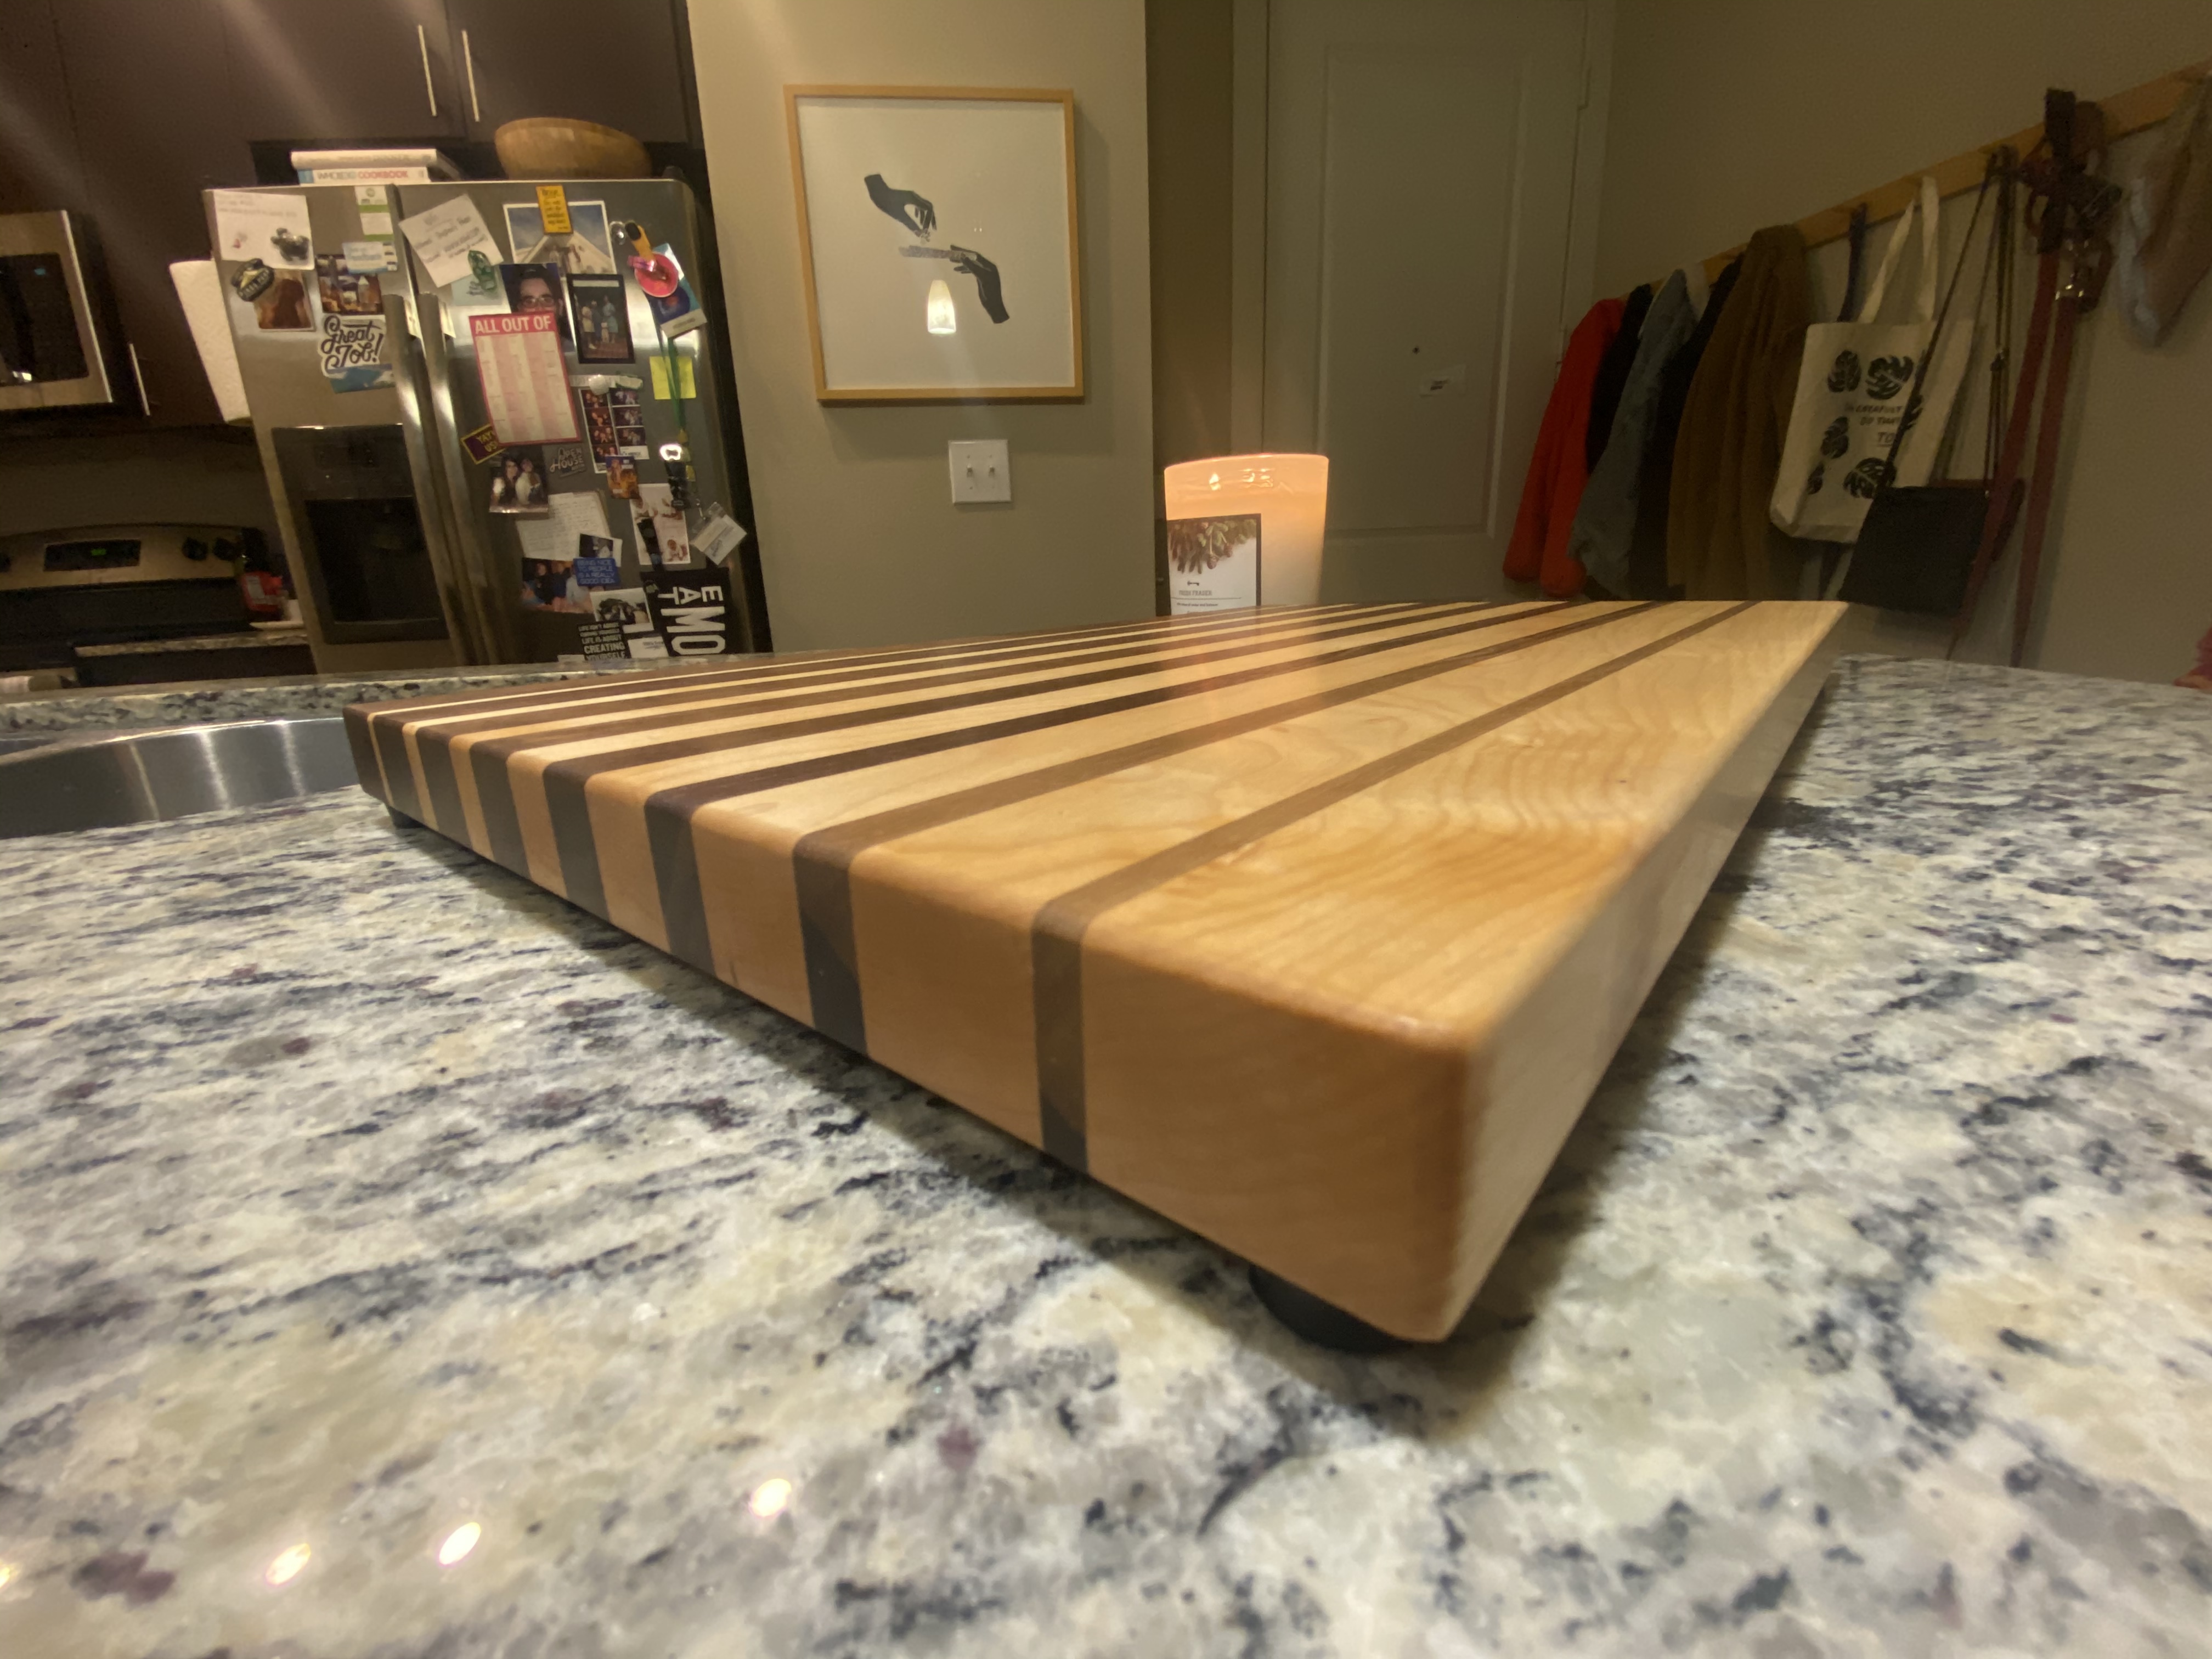
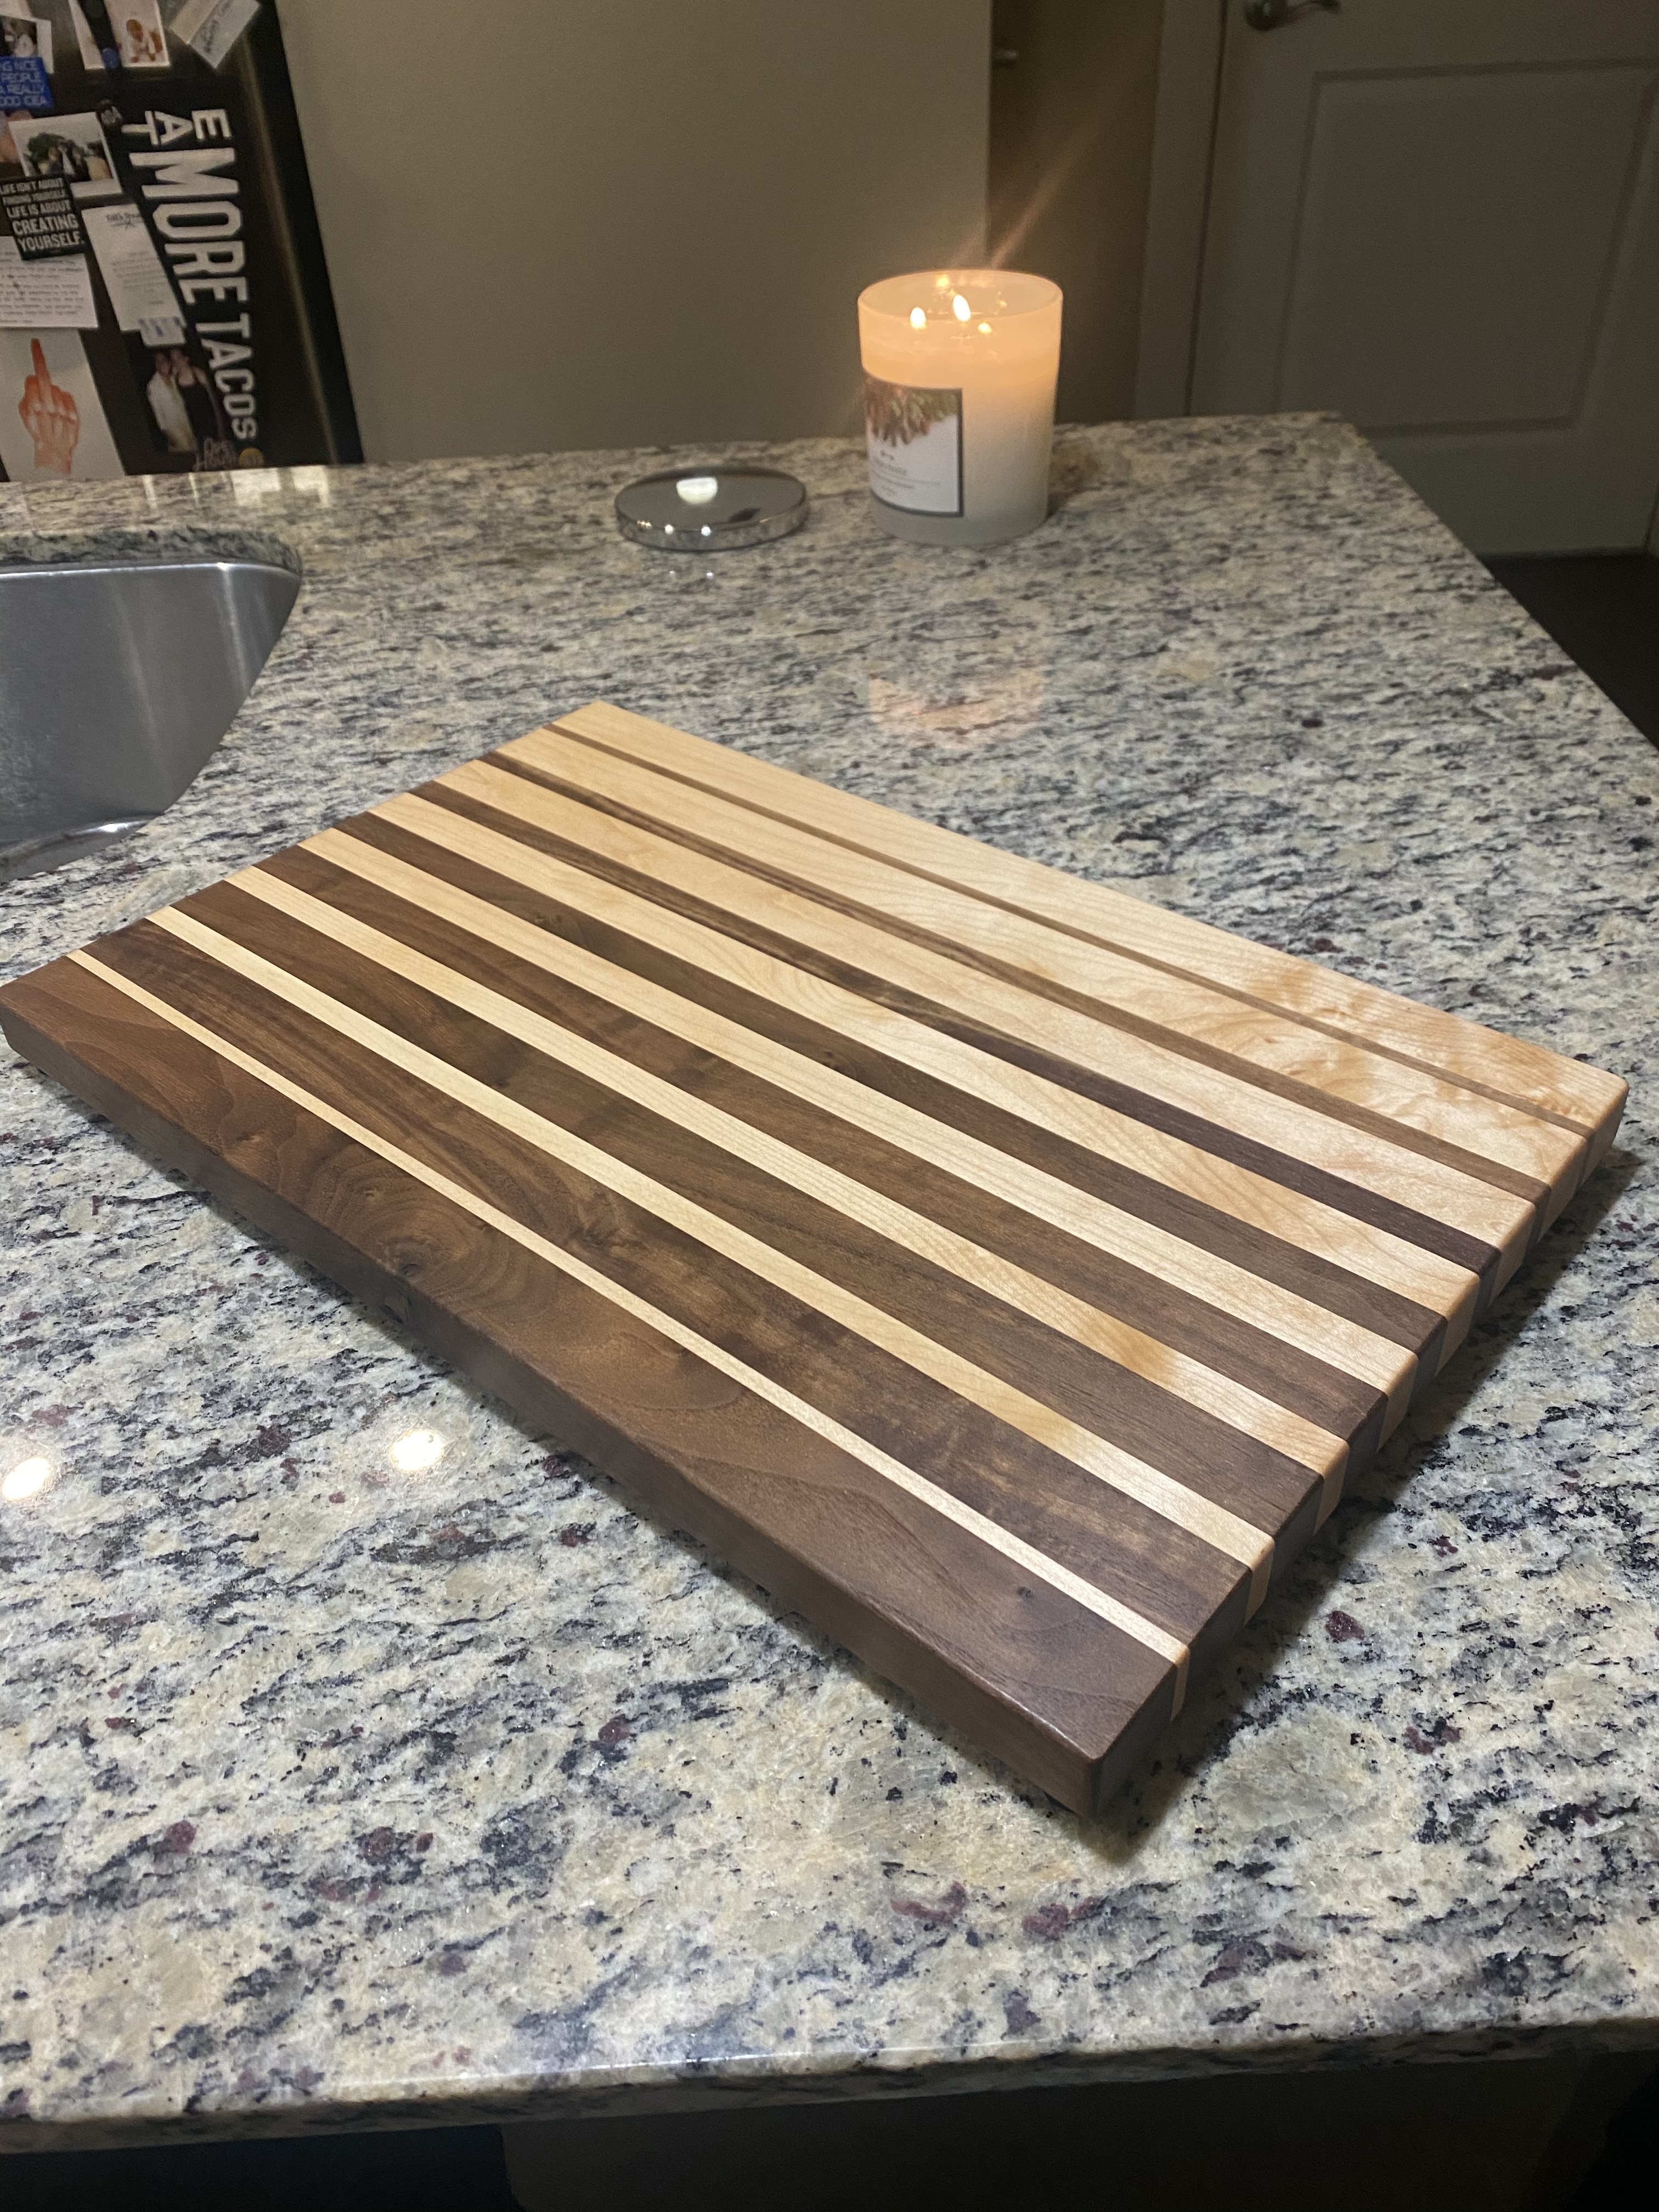
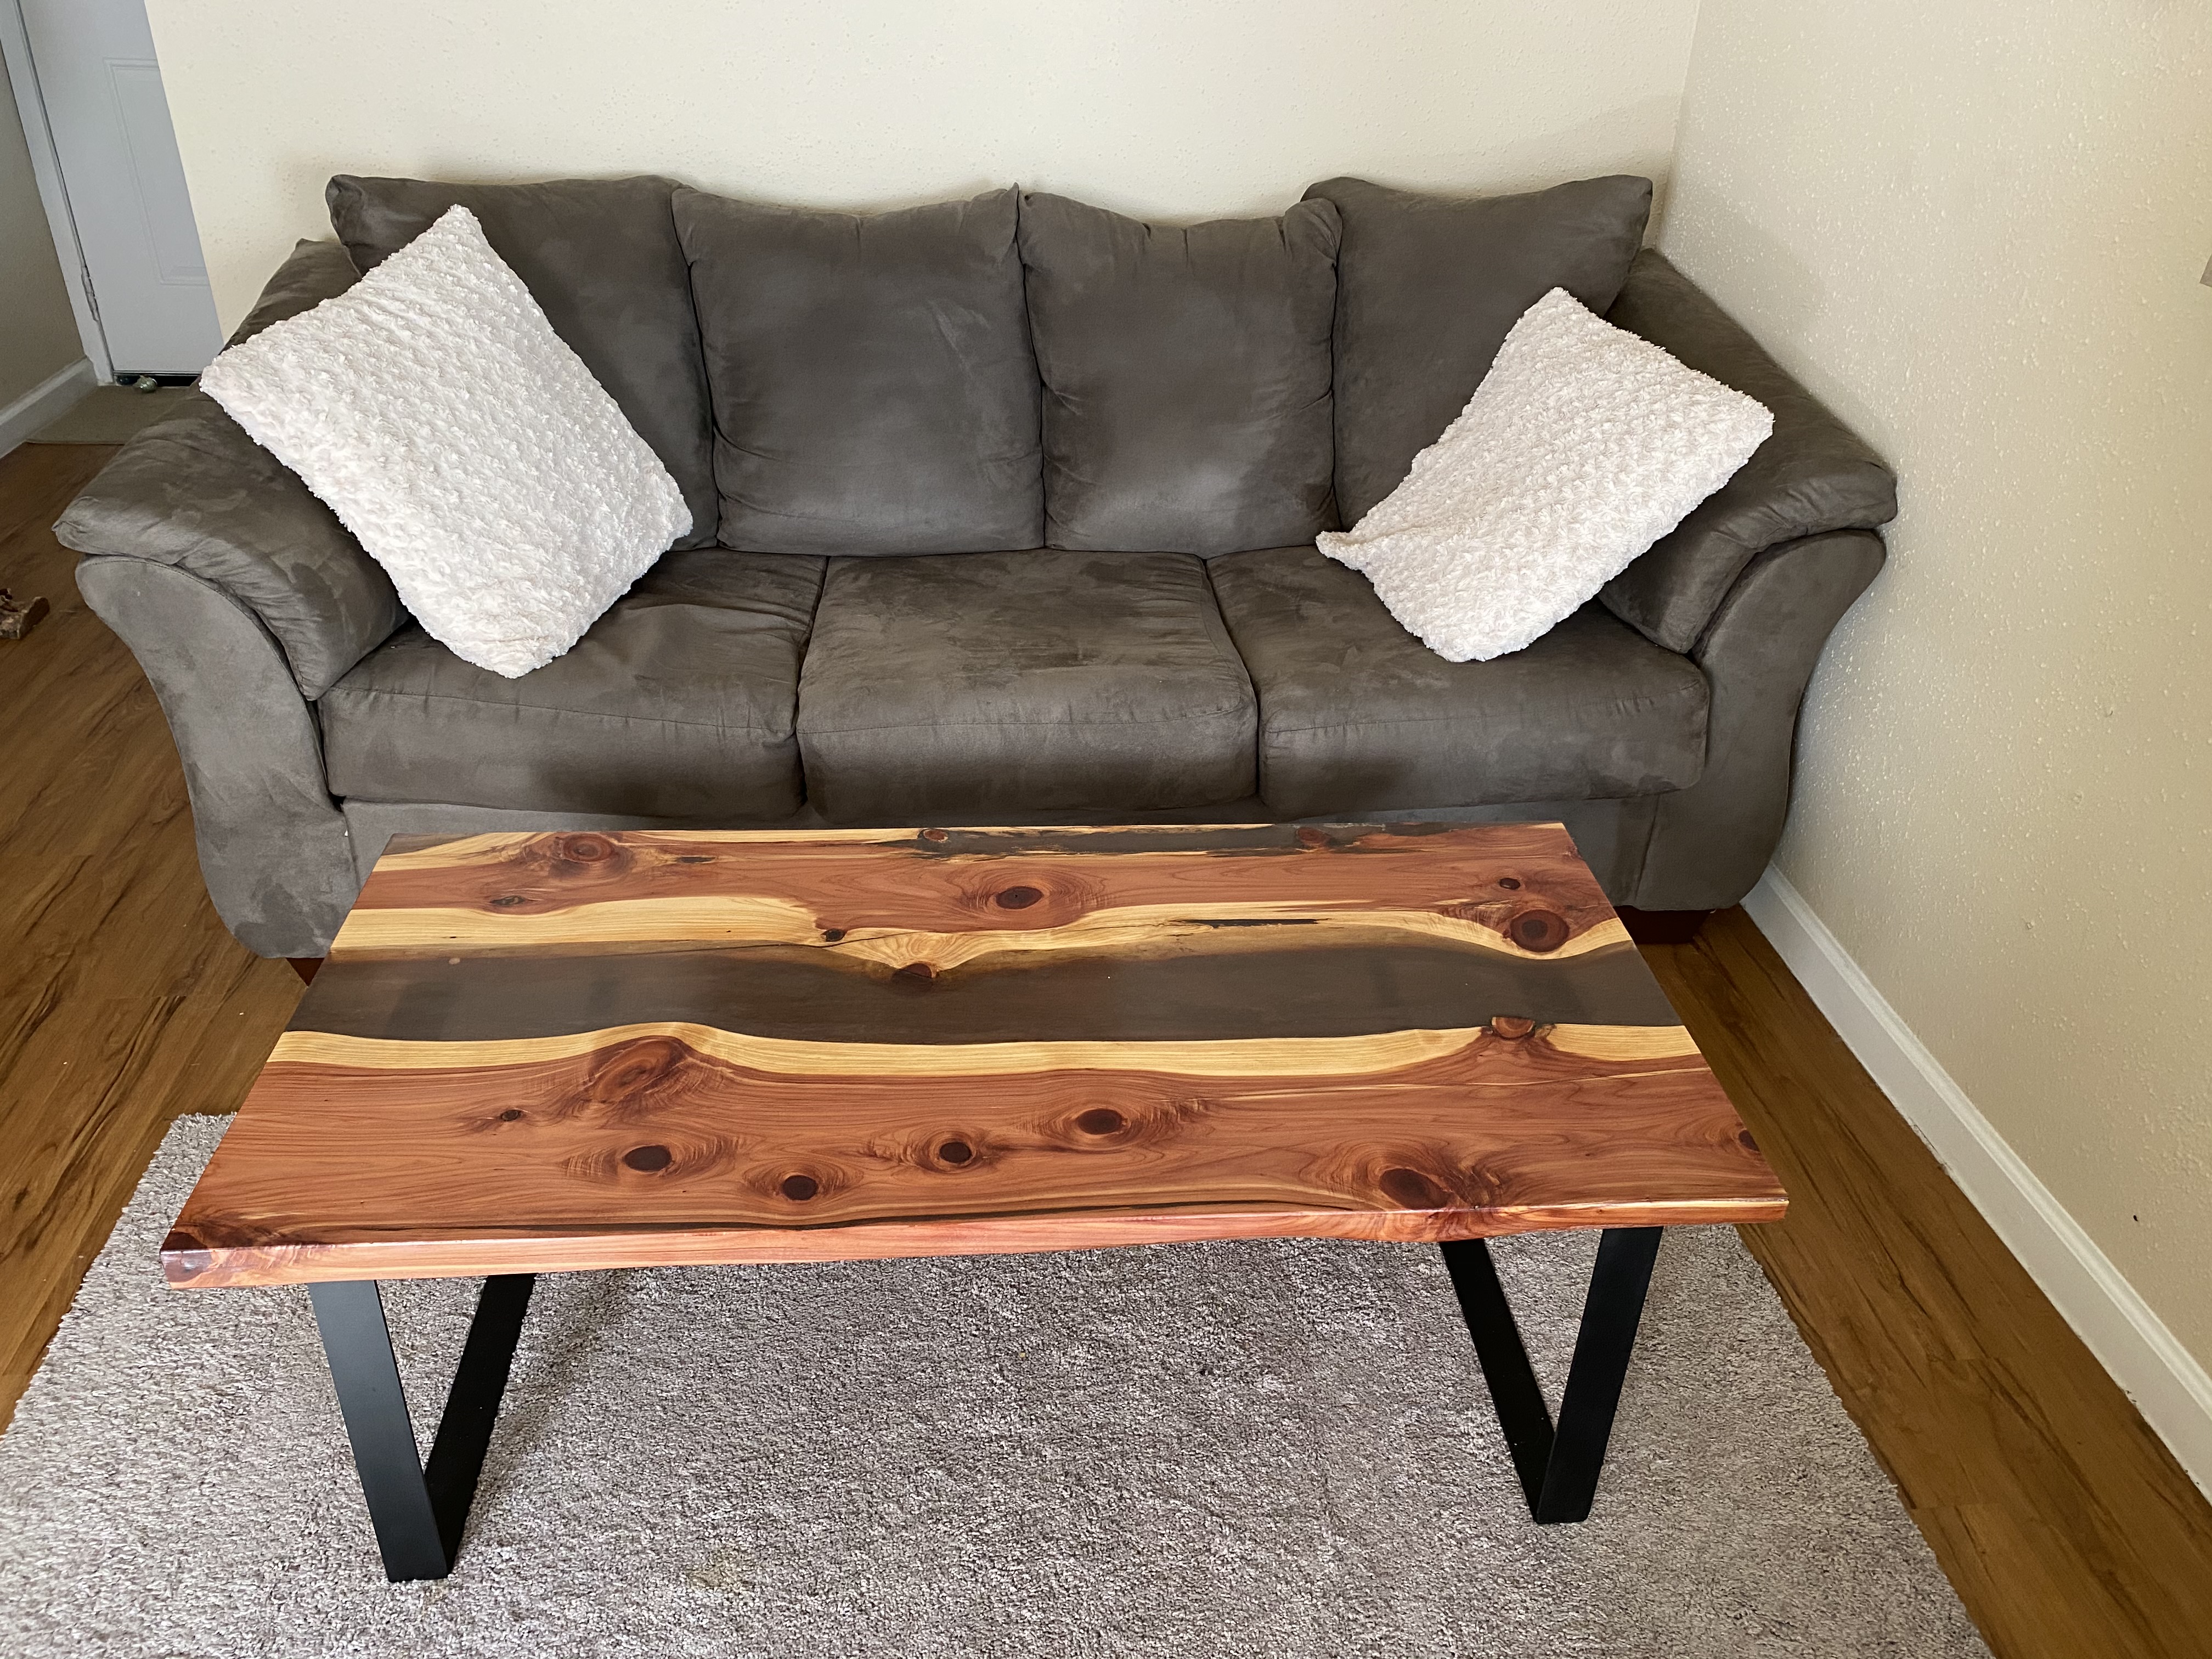
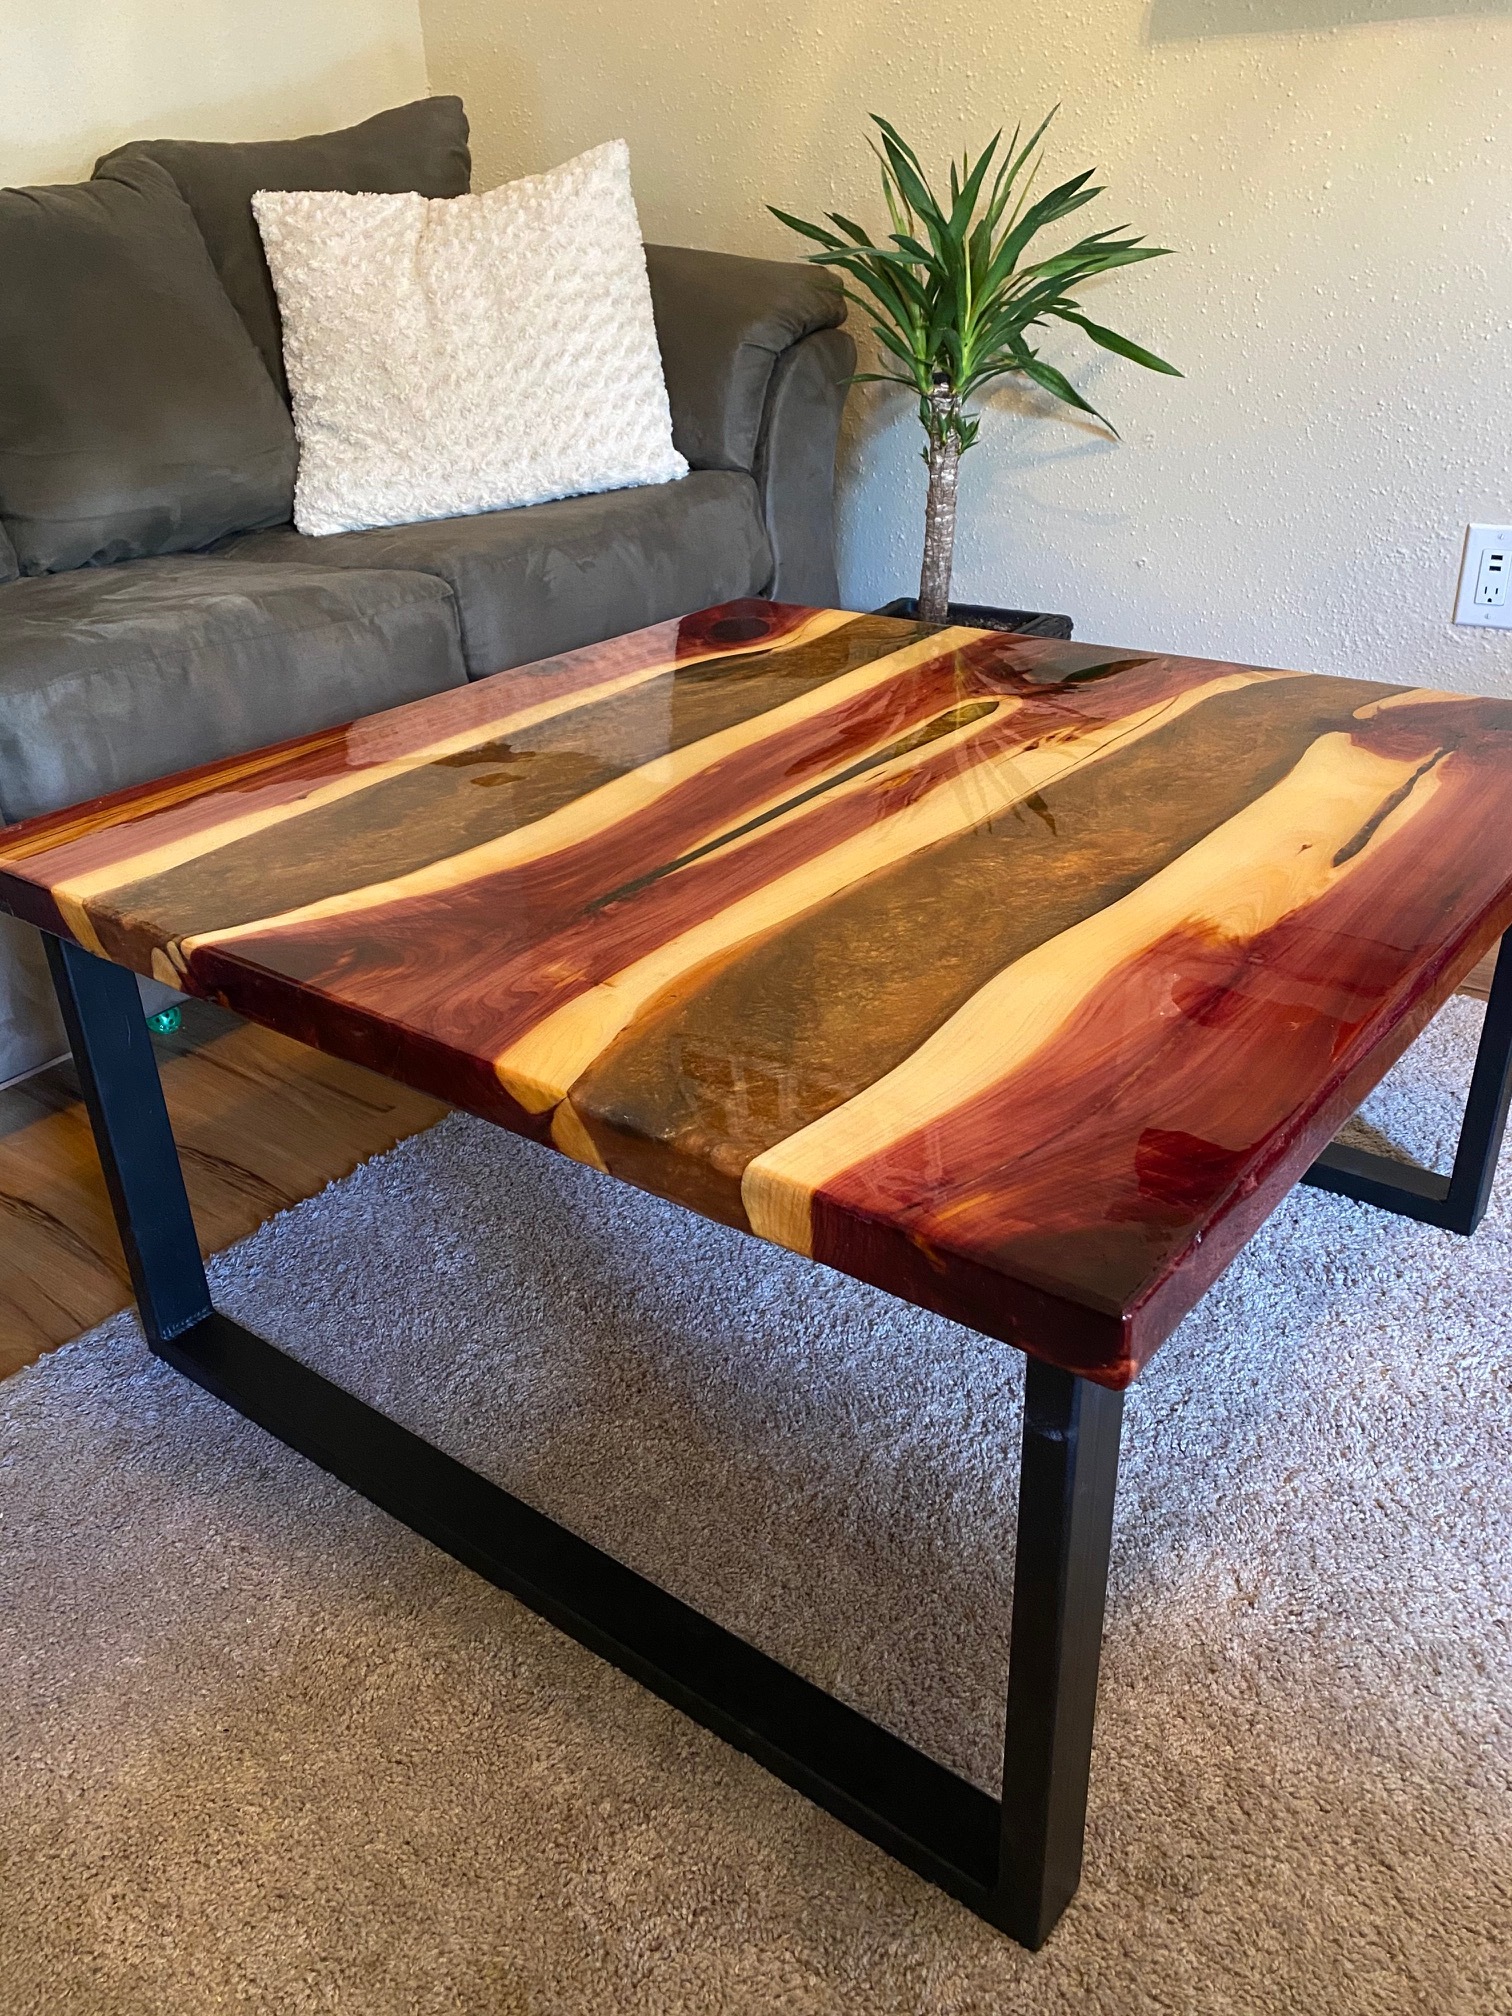
Here’s a few projects I’ve been able to work on during my time of unemployment.
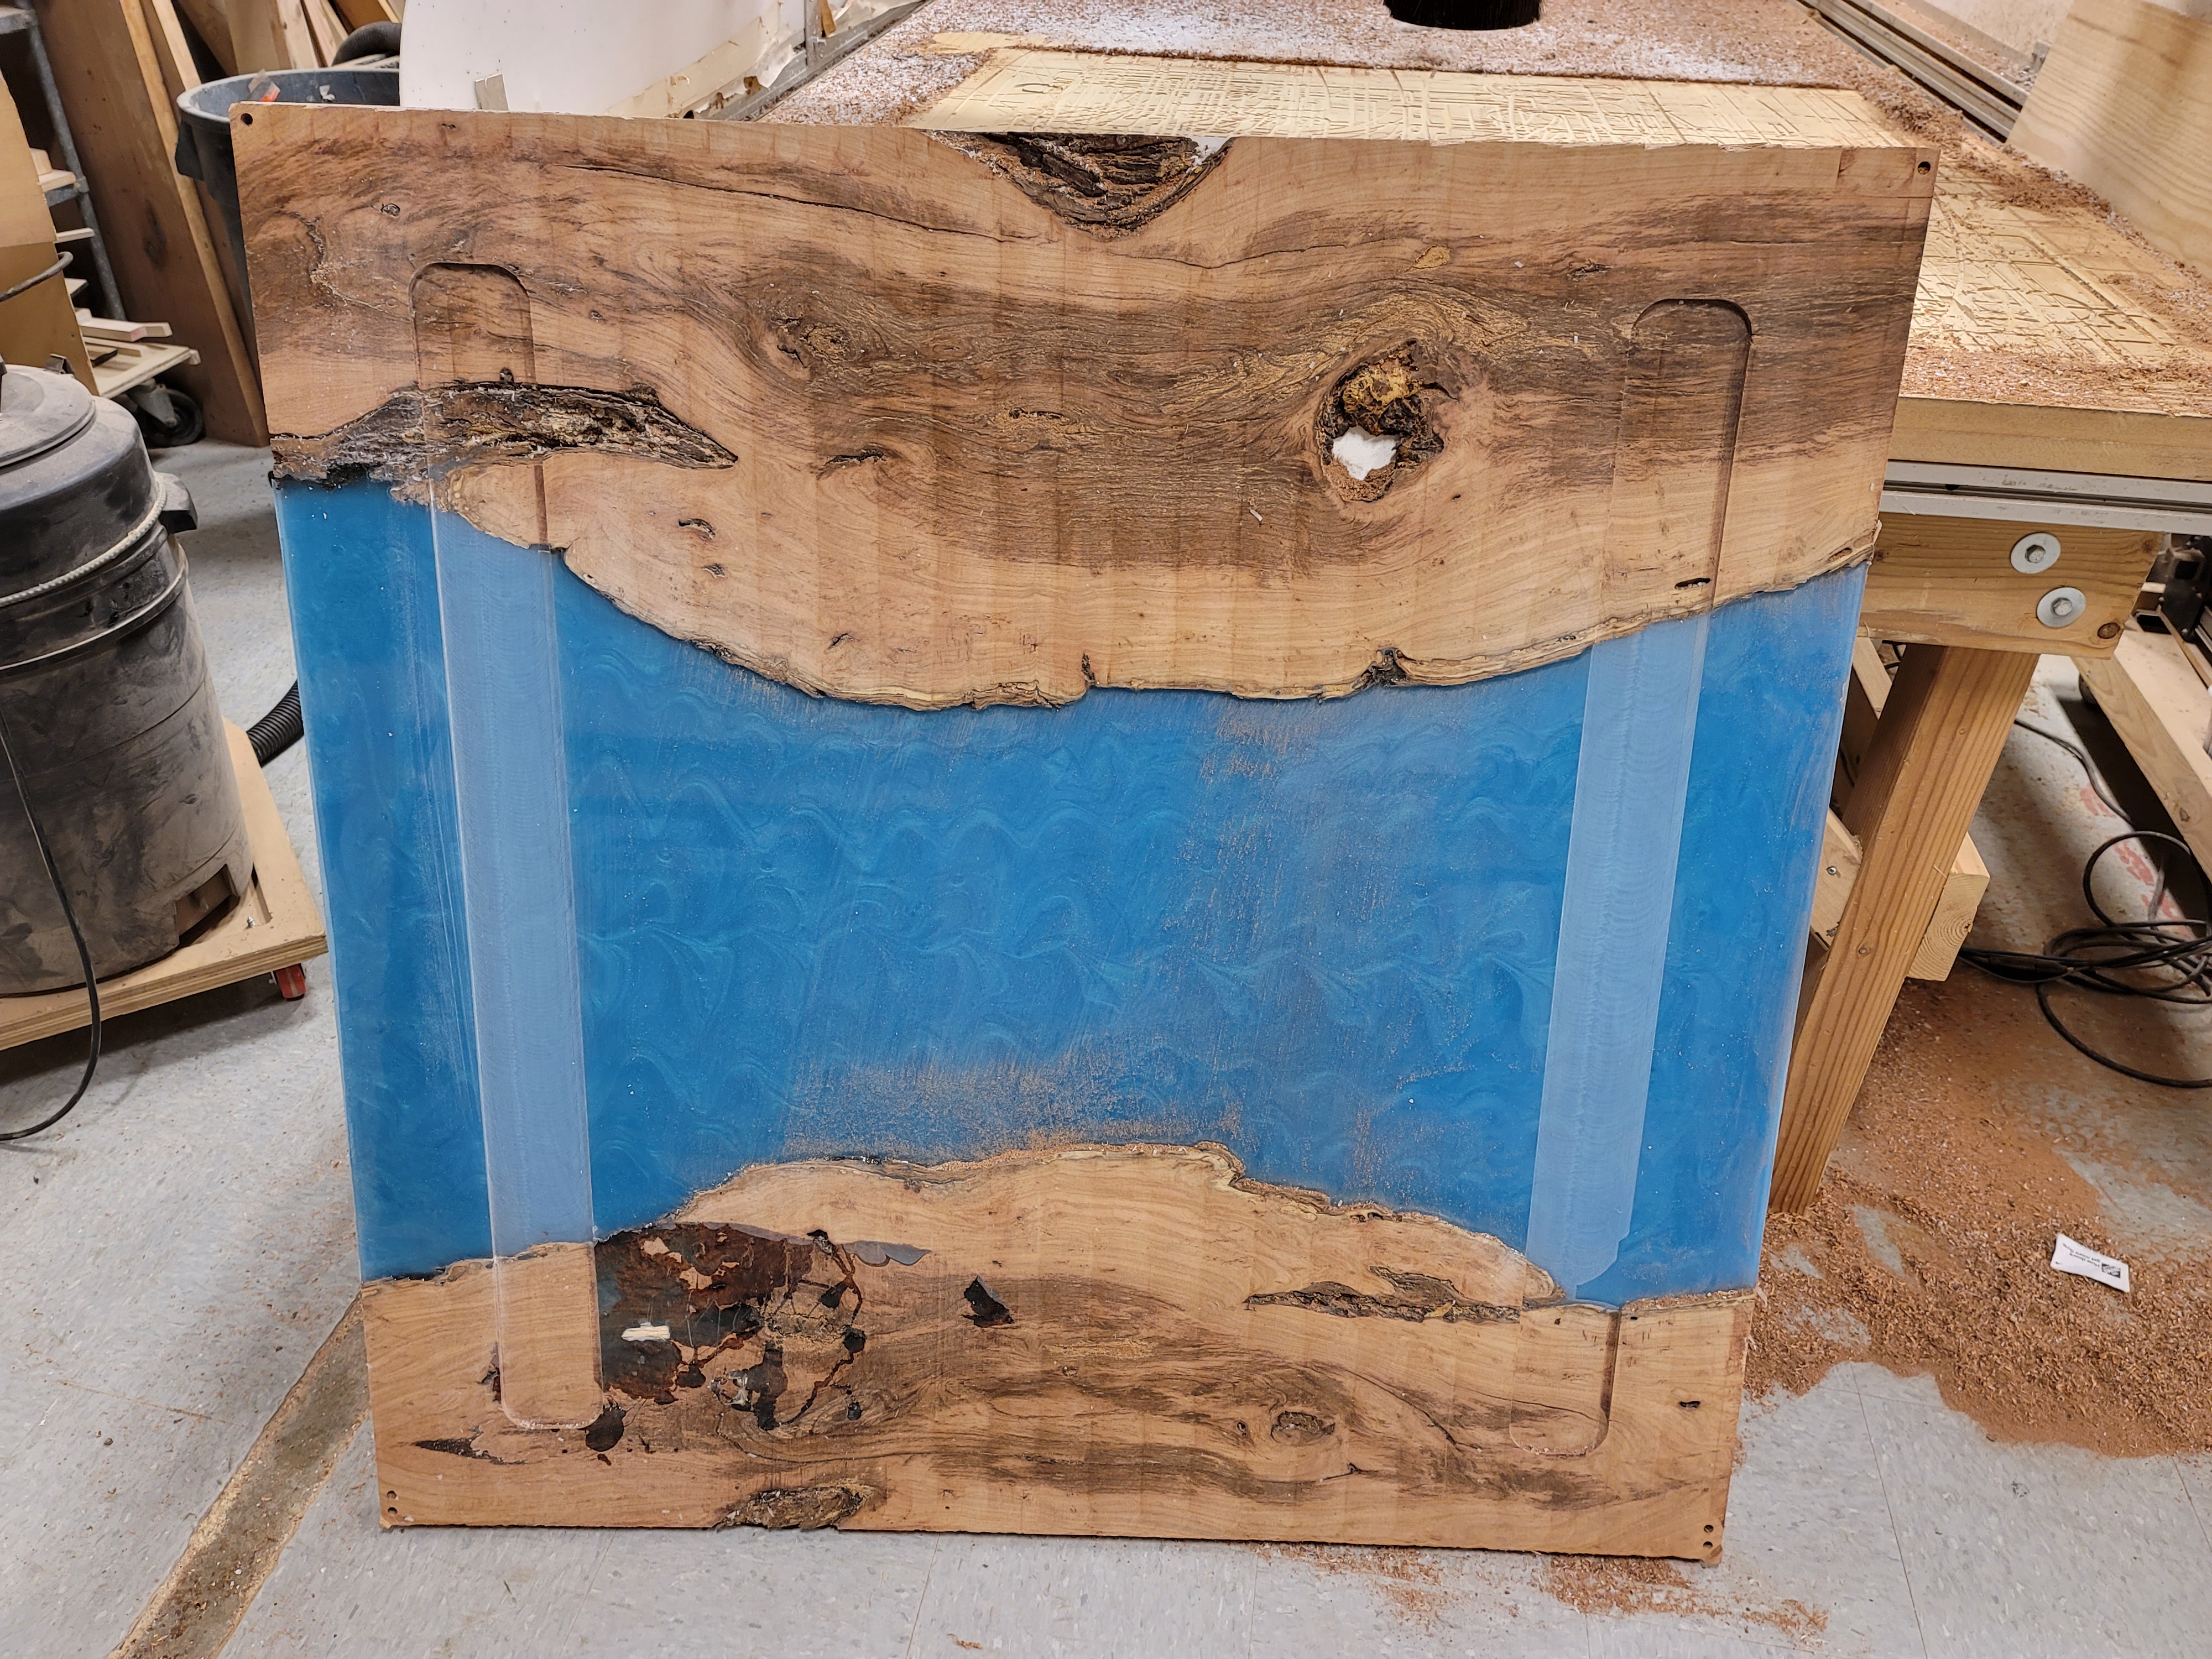
A couple river tables using cedar. There’s another one I’m trying to make for my place using mesquite but haven’t had time so far.
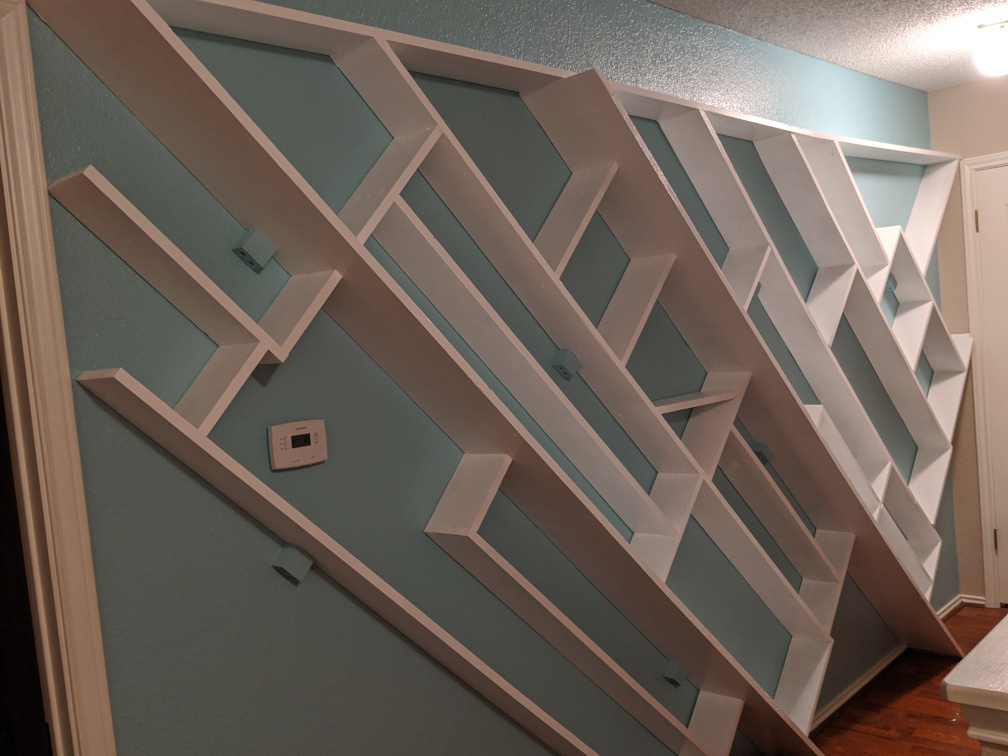
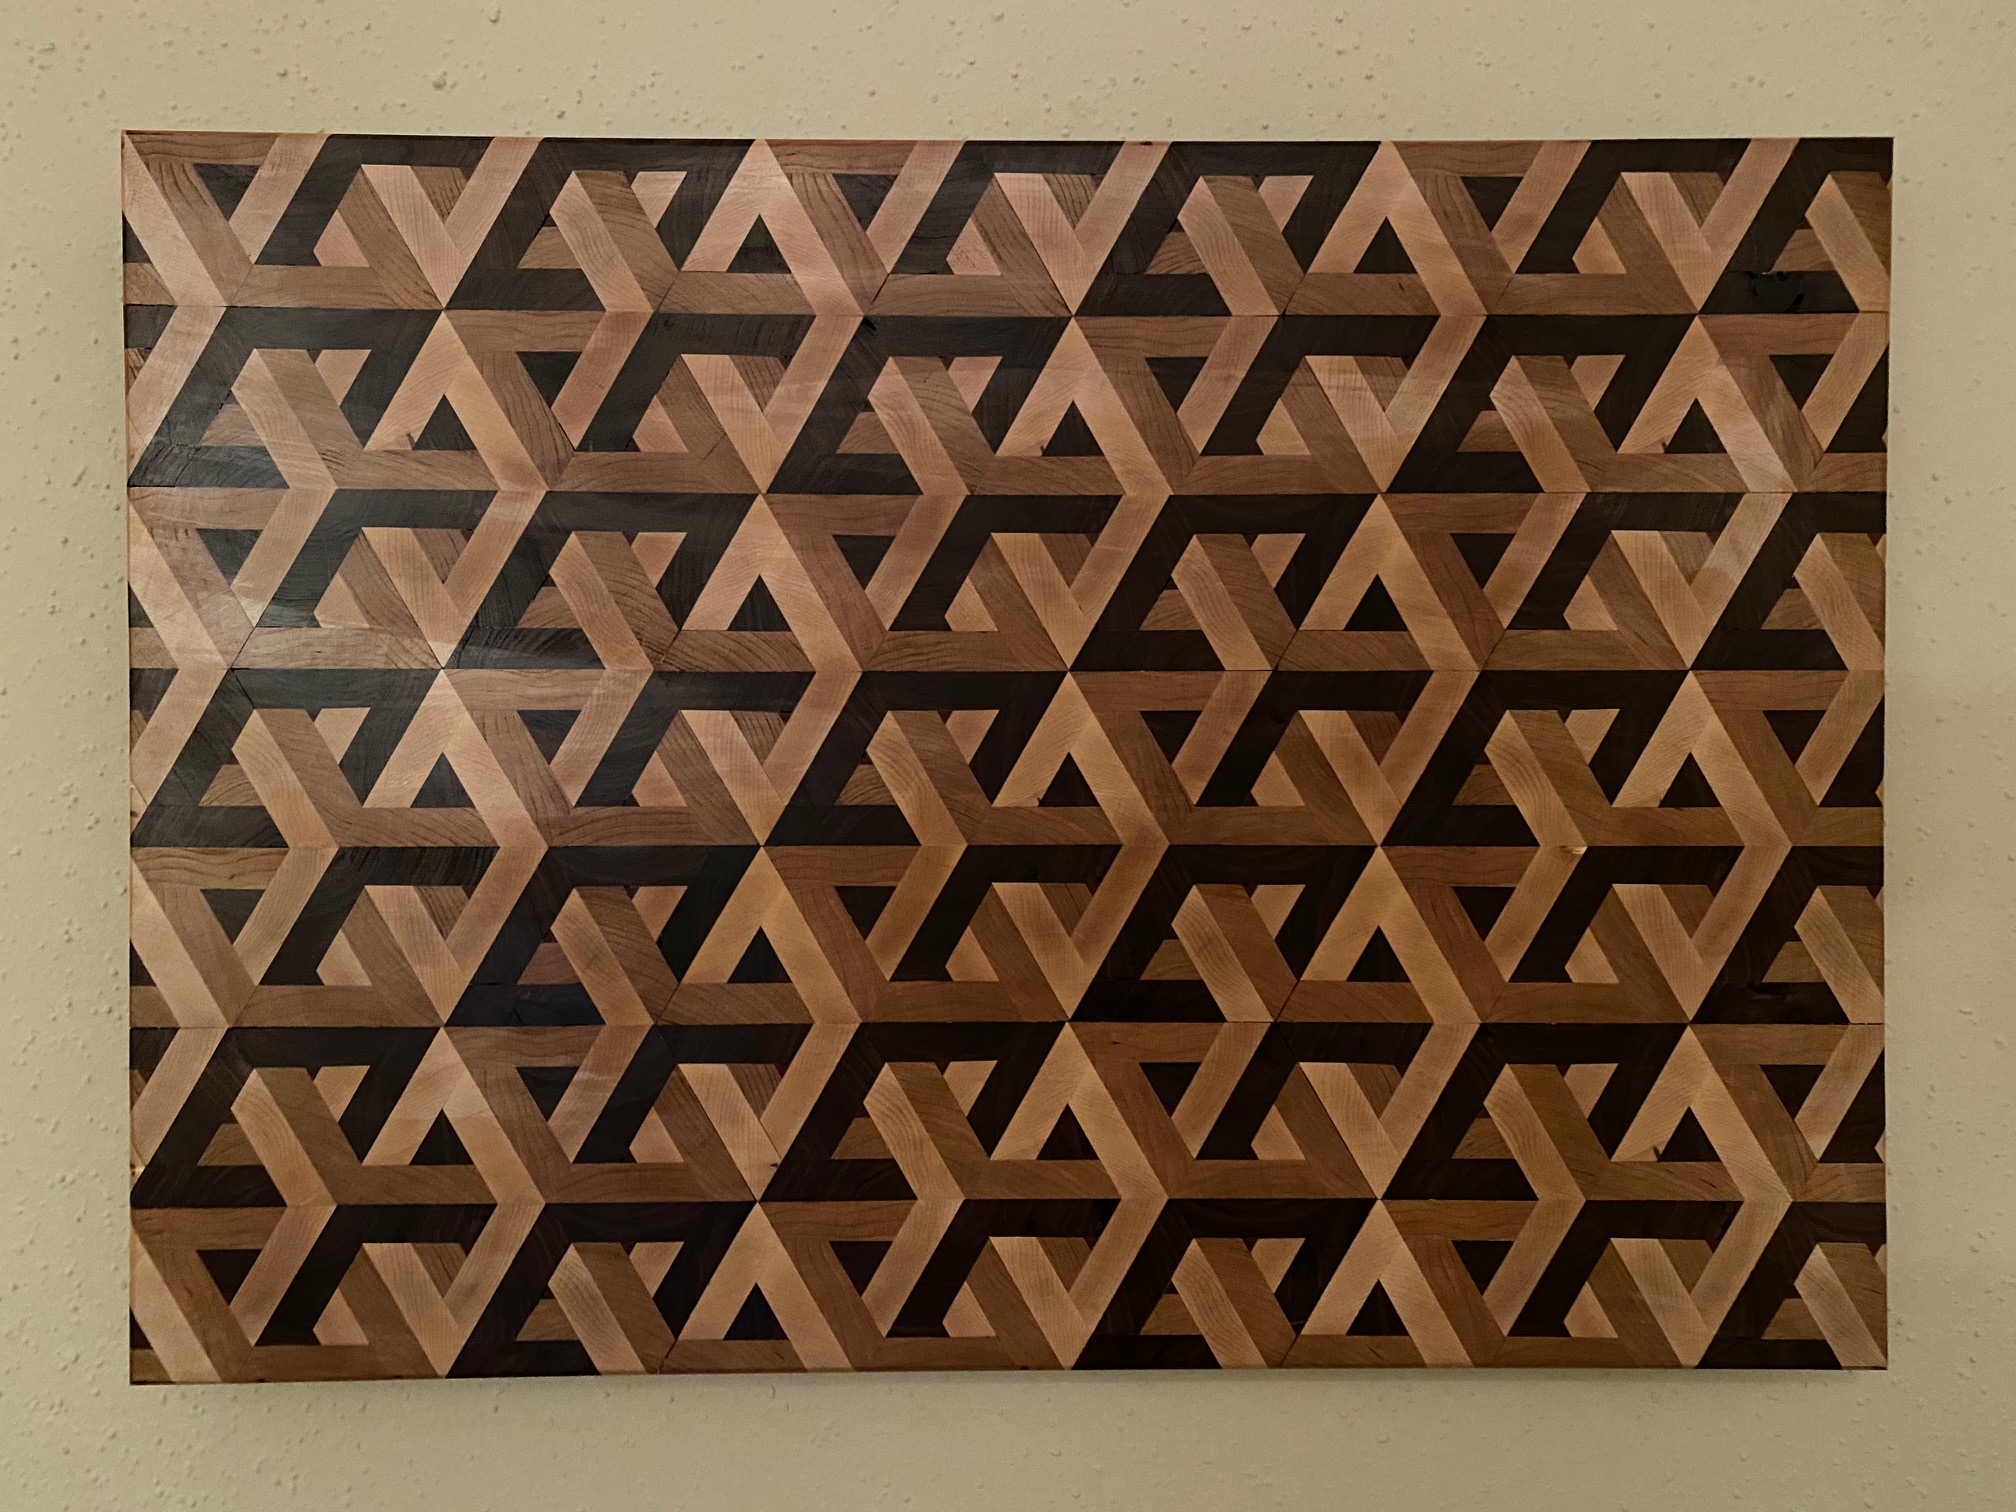
A little 3d wall art using mahogany, cherry, walnut and maple.
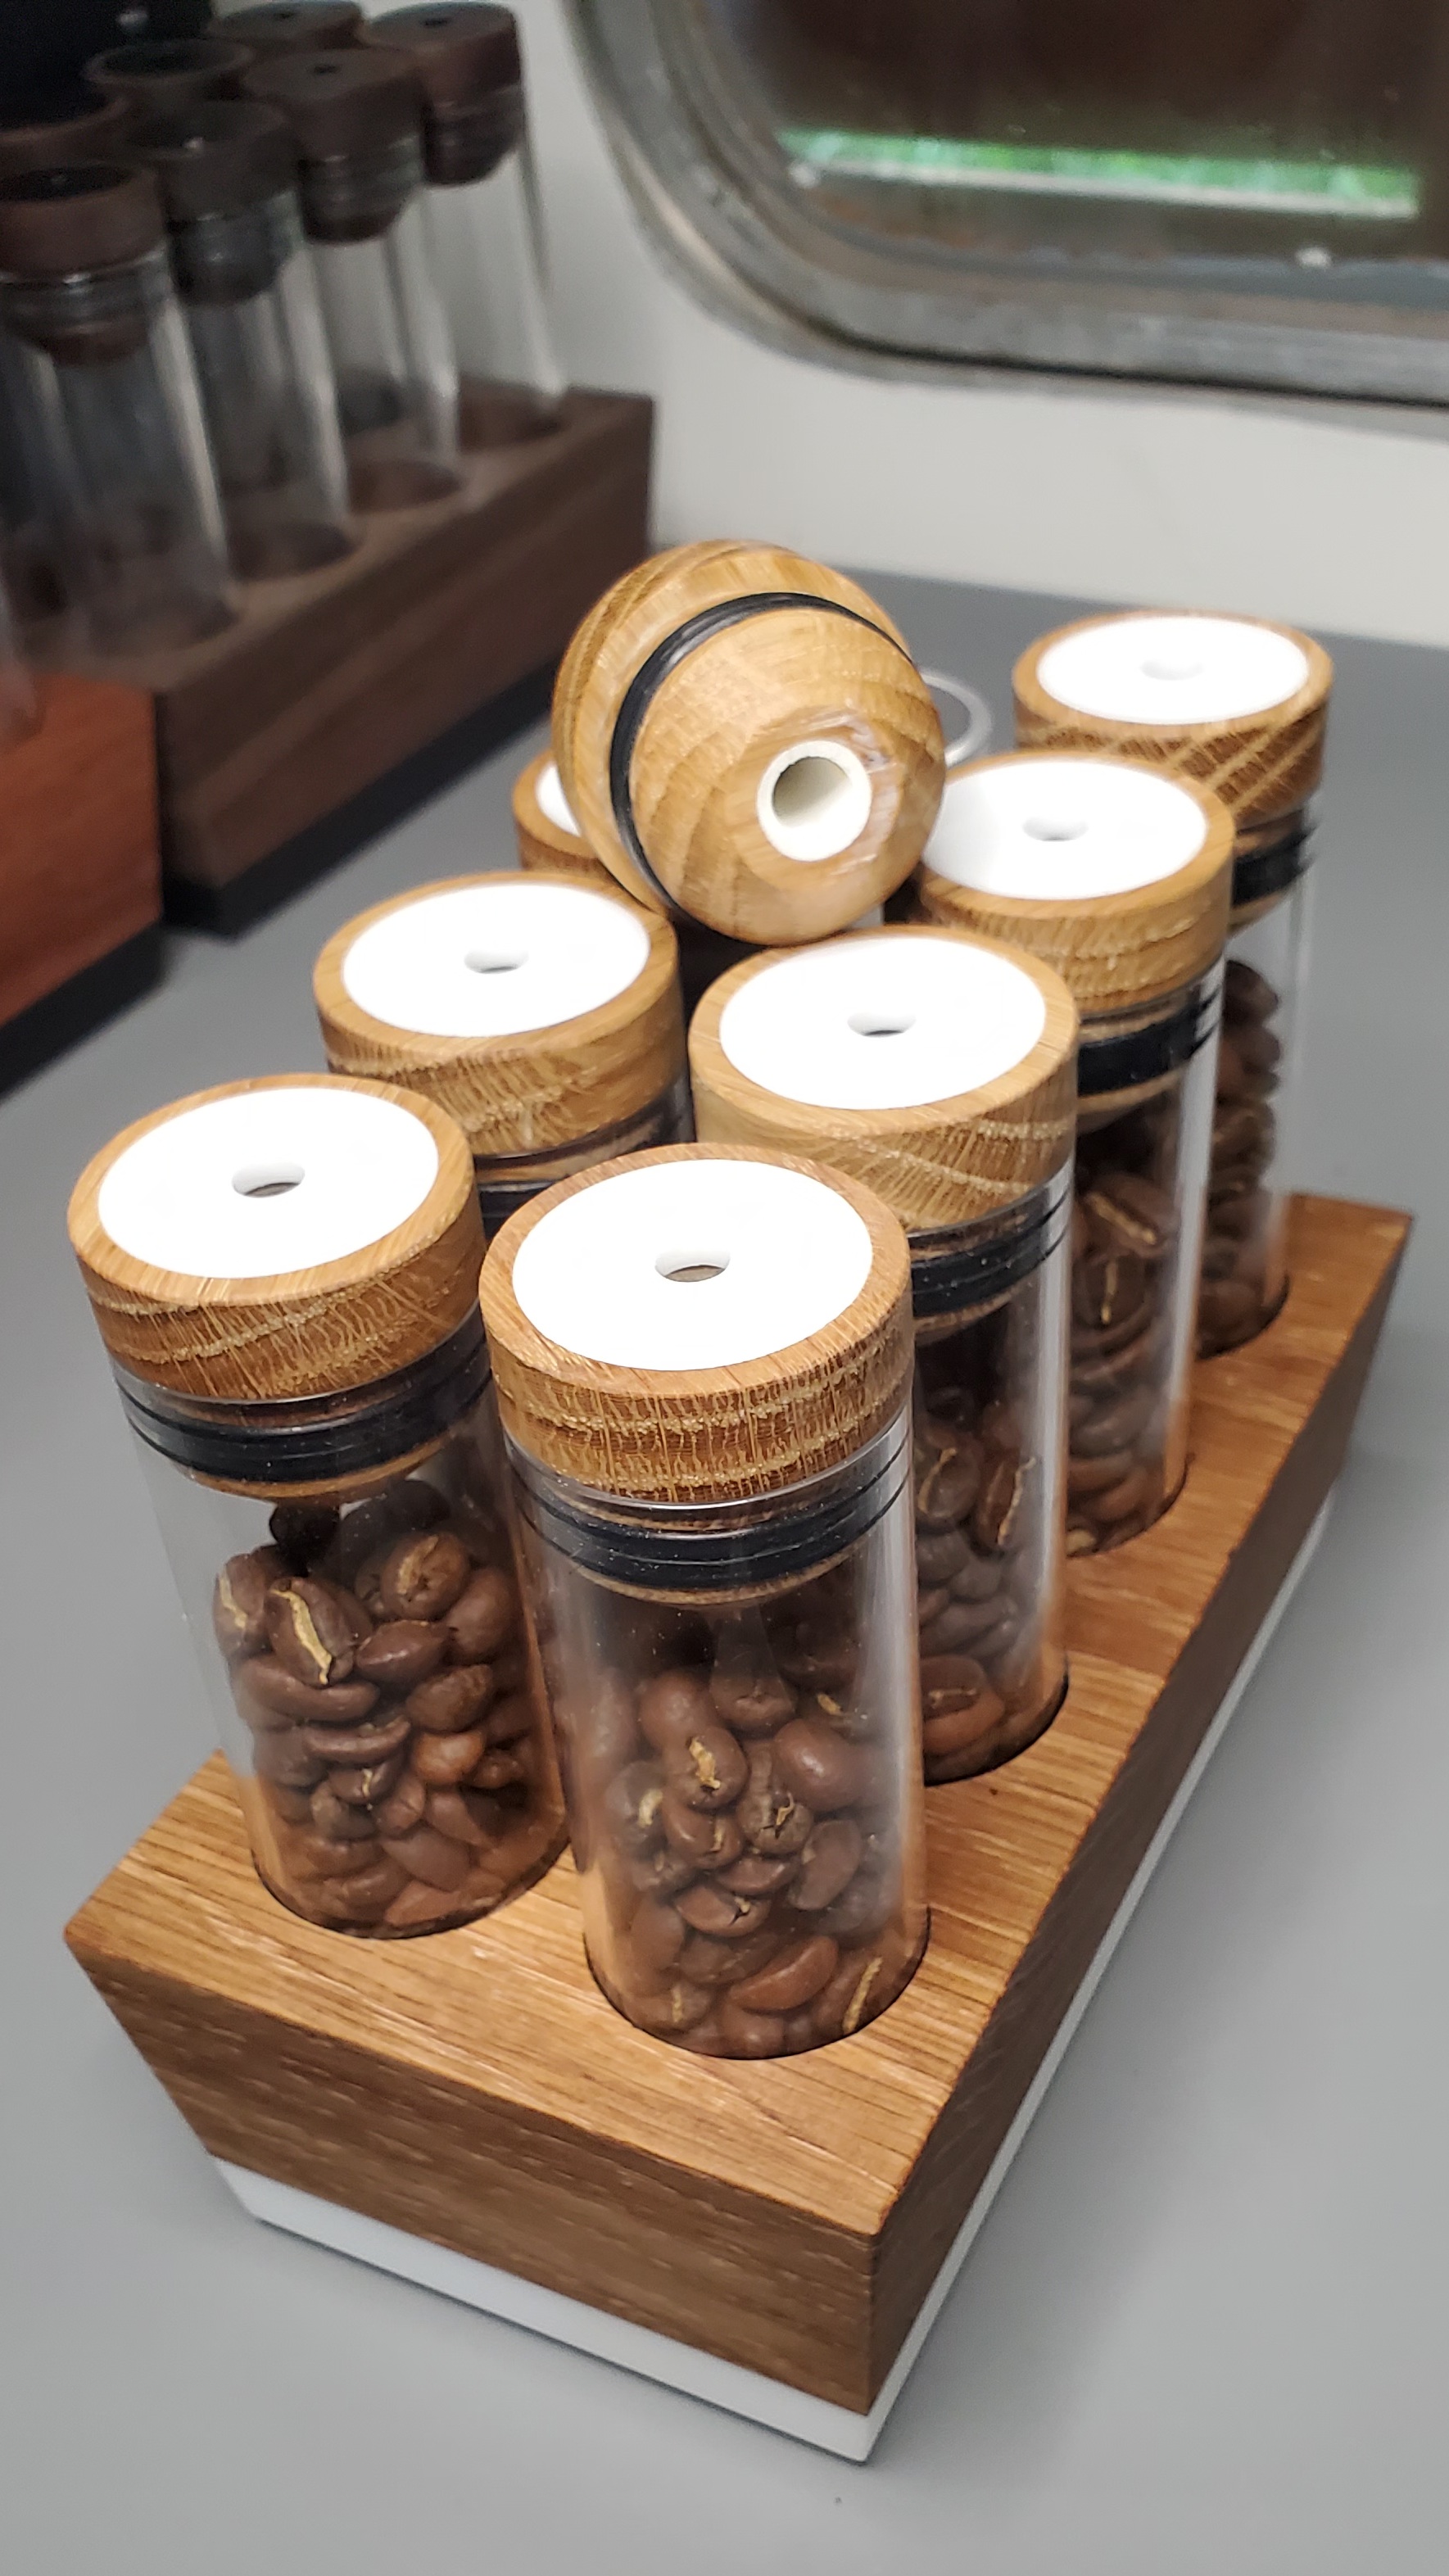
A jewelry box for my wife’s birthday. The shelf was made using the cnc.


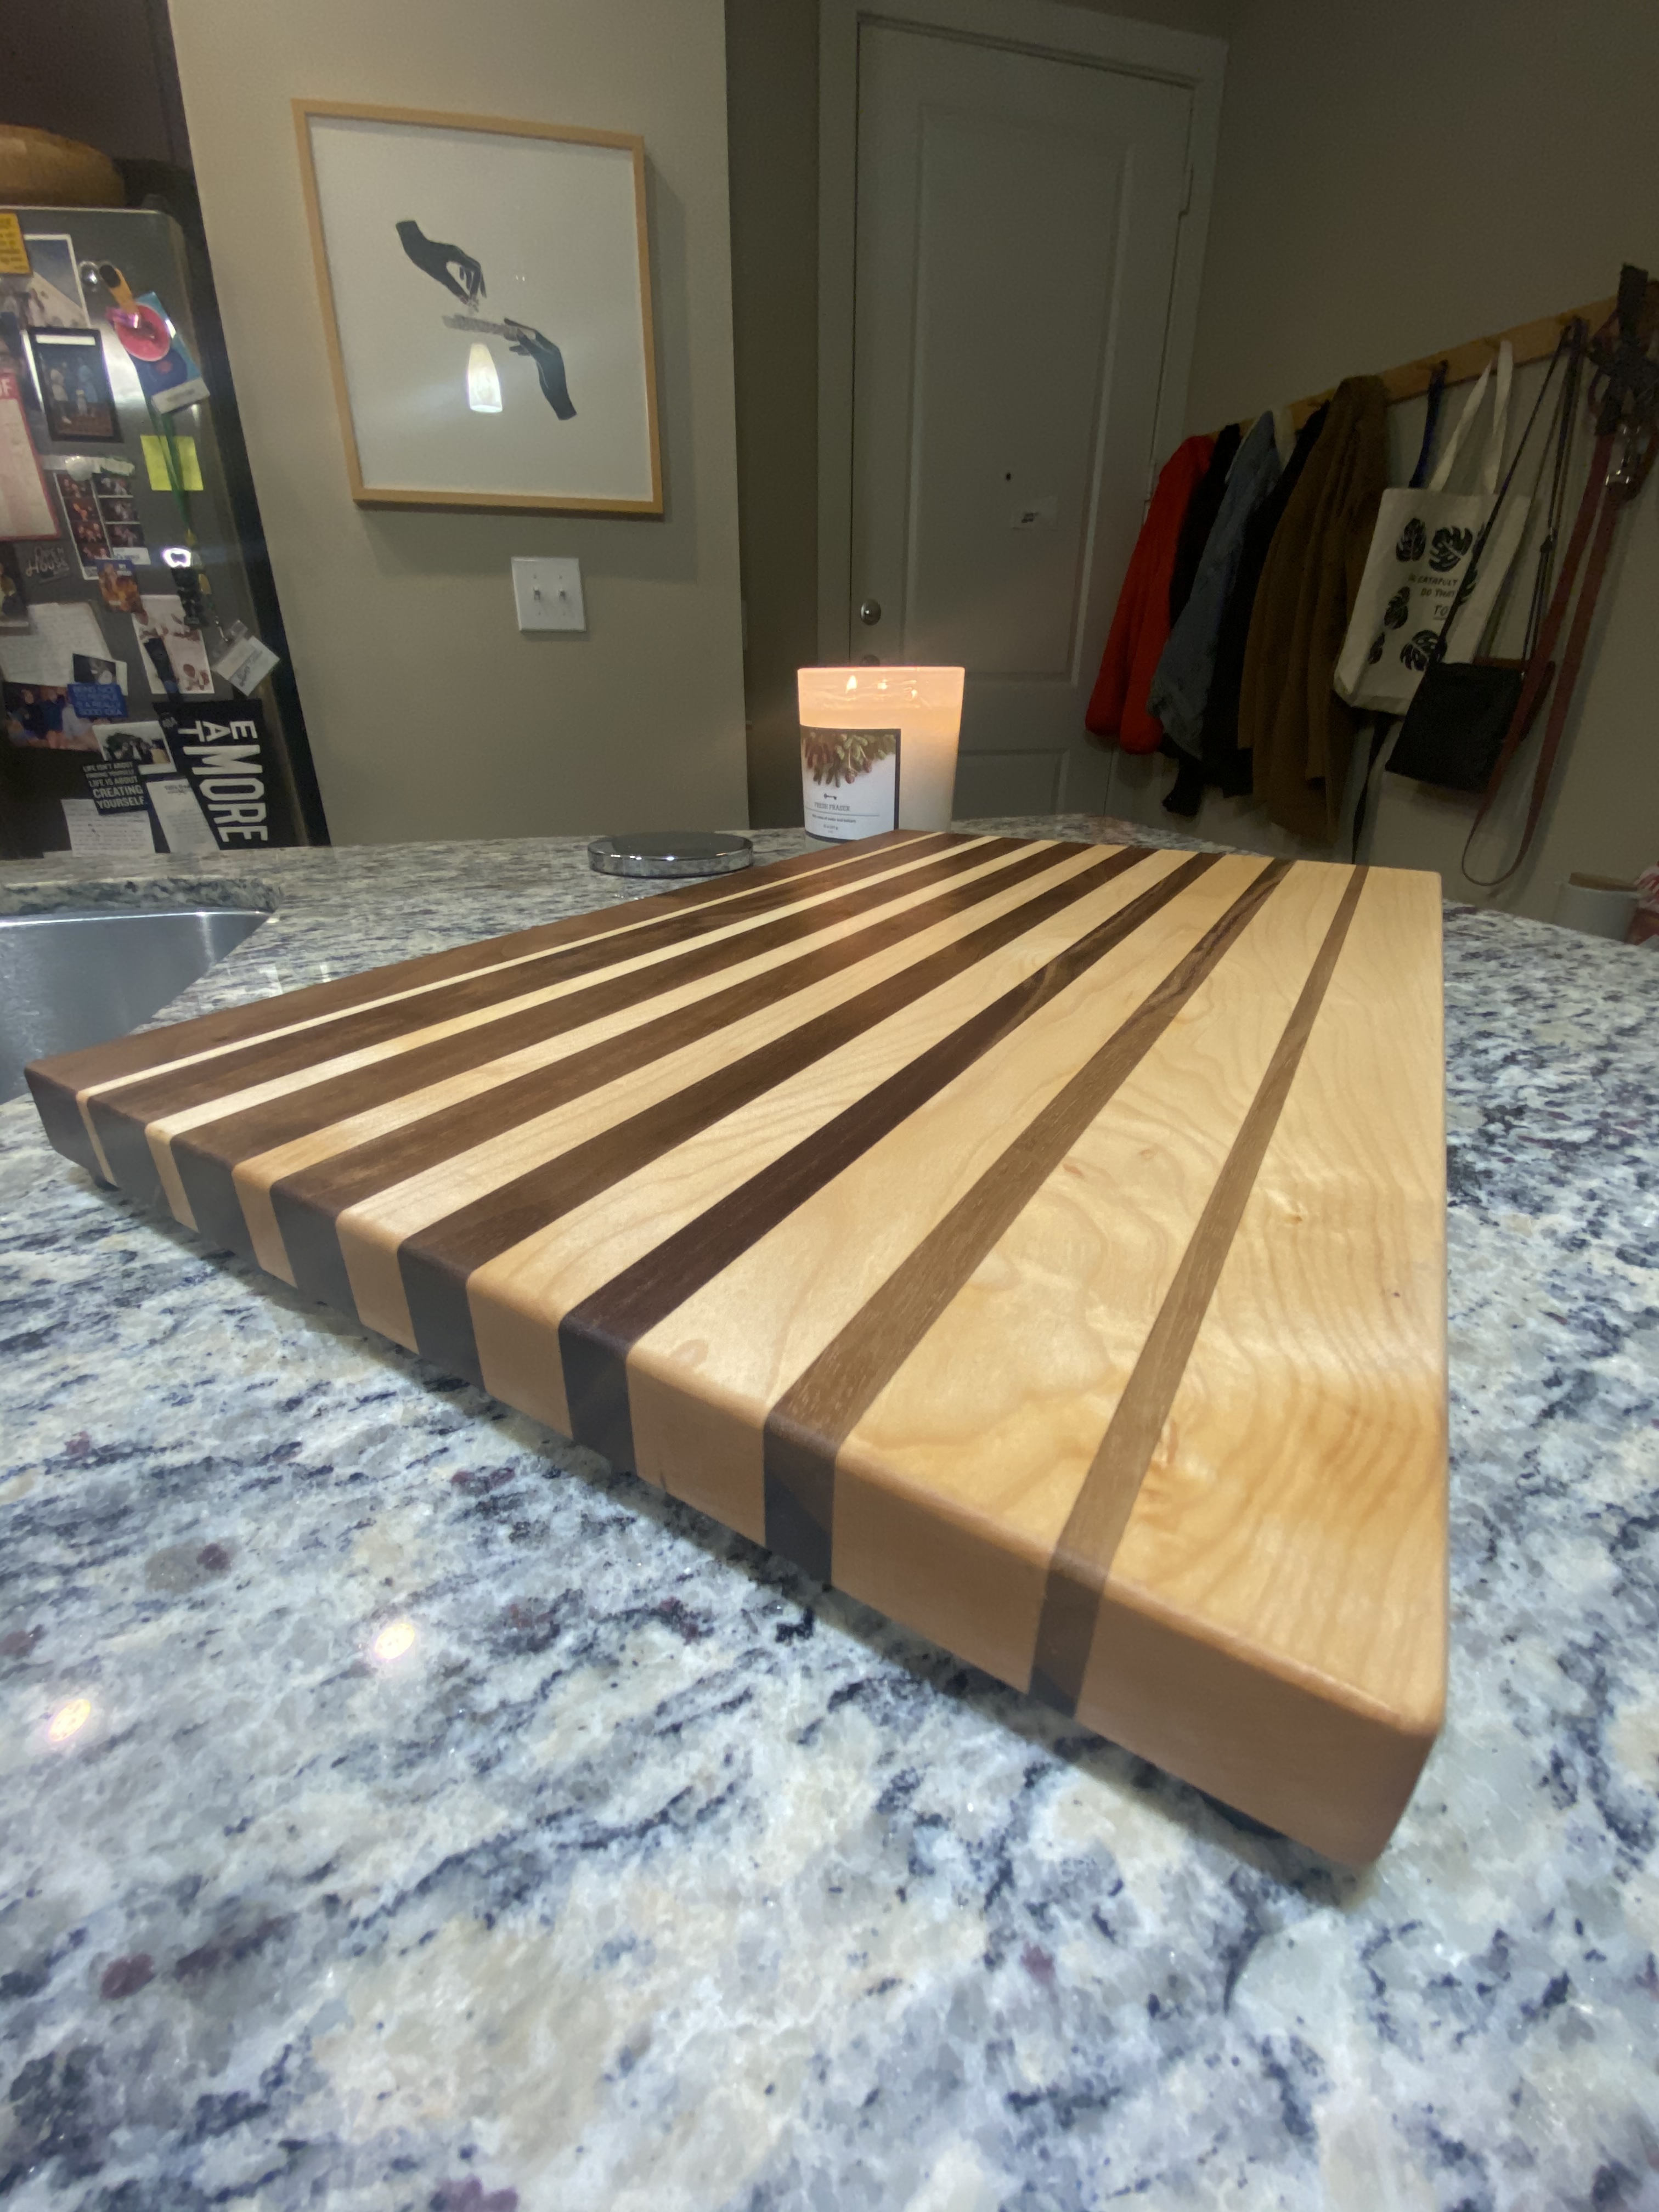
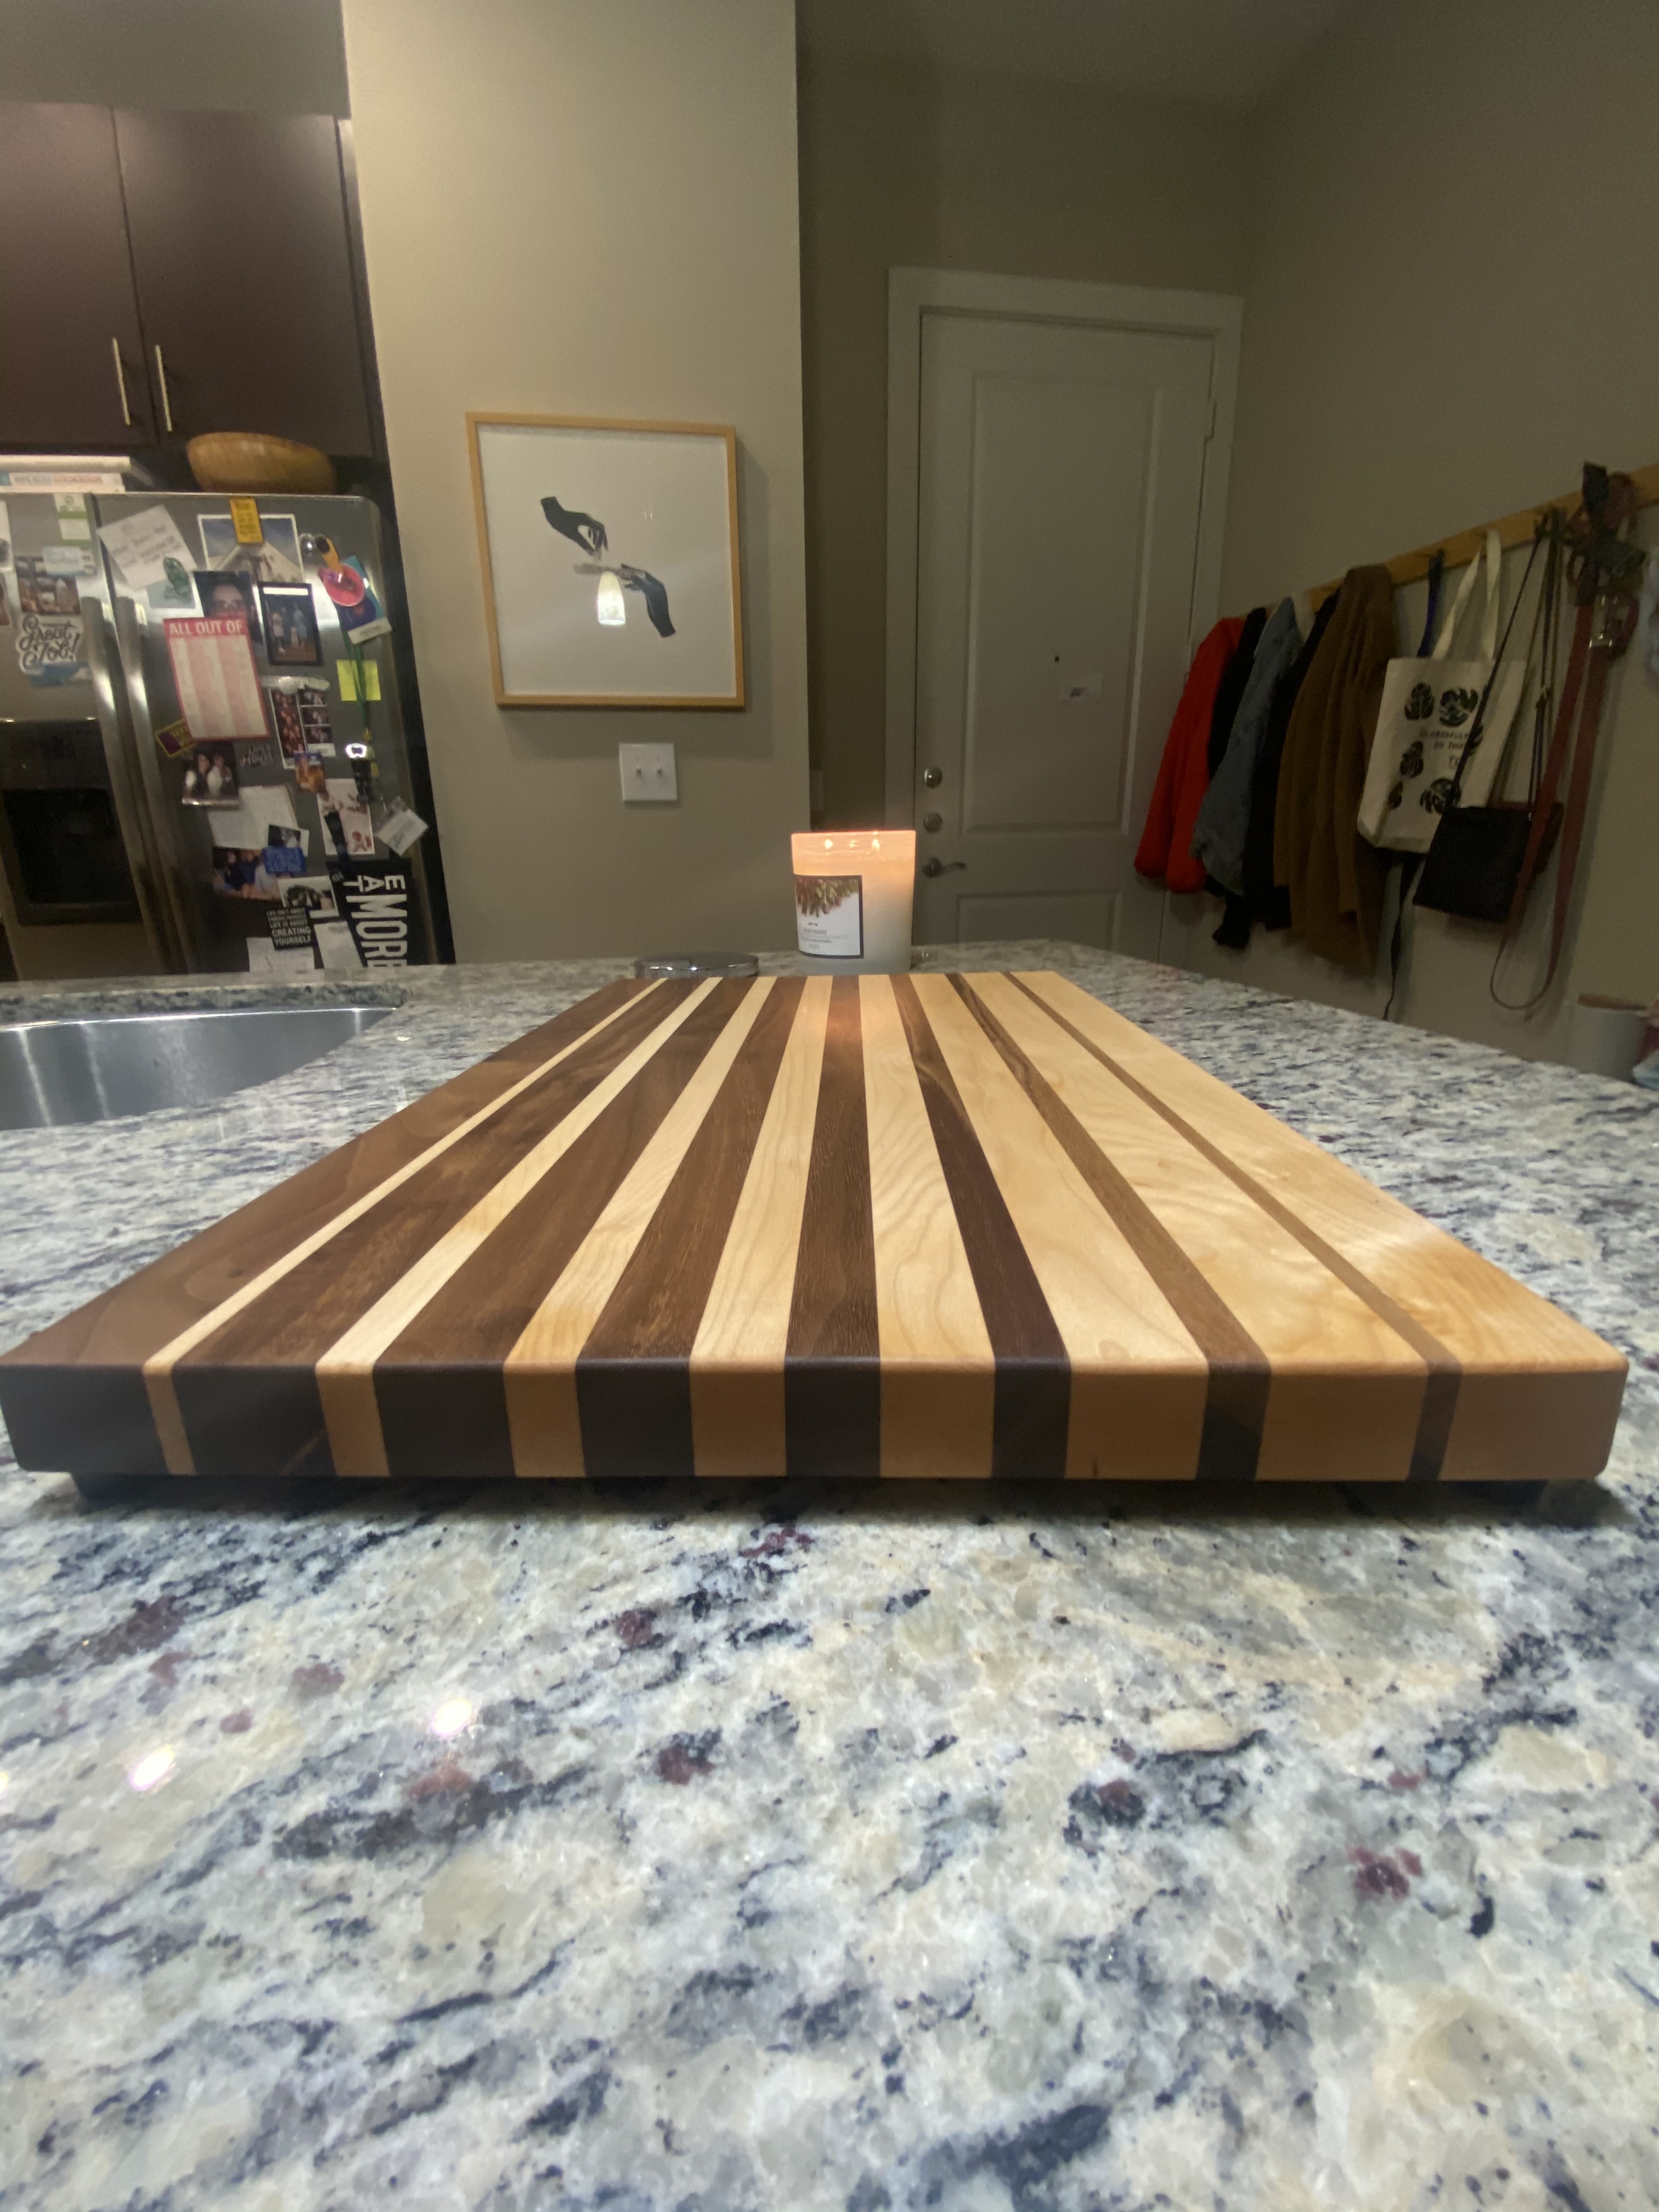
An end grain cutting board for a friend
9 Likes
These are so awesome! I am actually working on a river end table and was wondering if you have any suggestions/tips and what resin/epoxy you used? Hope you are having a good Christmas vacation too 
If you haven’t used epoxy before, and you’re looking for a cheap learning epoxy… I recommend the 2 gallon kit on Amazon. It’s like $110 for the whole kit, which is the cheapest I’ve found. Makes it a little less nerve raking if you make mistakes, or mix too much up and have waste epoxy.
2 Likes
I’ve used epoxy for small projects, but plan on doing a river end table and just realized how much epoxy it needs. I also started using Fusion360 to make sure everything fits and I have enough epoxy before starting the projects. Trial and error for sure! Thanks for the advice and is this the one you are talking about?
Hi Meagan,
Thank you!! River tables are fun to make but sometimes tricky. The epoxy I’ve been buying is probably very similar to the one you found. It’s the pro marine (https://www.amazon.com/gp/product/B0843NBGDN/ref=ppx_yo_dt_b_asin_title_o07_s00?ie=UTF8&psc=1) and the most important with it is to really mix at a ratio of 1:1. One day I messed up and added more of one than the other and it never cured. I had to cover the uncured one with an extra layer but it was a mess.
The second most important is to make sure you don’t pour more than 1/4 inch thick at a time. Another time I did 3/4 inch thick and it started overheating and smoking in my apartment creating a lot of bubbles in the table that had to be sanded afterwards.
Usually I’m able to do 3 pours a day if I start early enough so if your table is a 1.5 inch you should be able to do the 6 pours in 2 days.
I try to seal my edges with epoxy before my first pour to reduce the amount of bubble and to put a bead of silicone all around my wood and mold so that I’m not wasting epoxy.
Good luck to you 
These are all very cool. It’s nice to see people’s projects. I love the bed frame! @gordoa40 been thinking about doing one myself. Is it very involved?
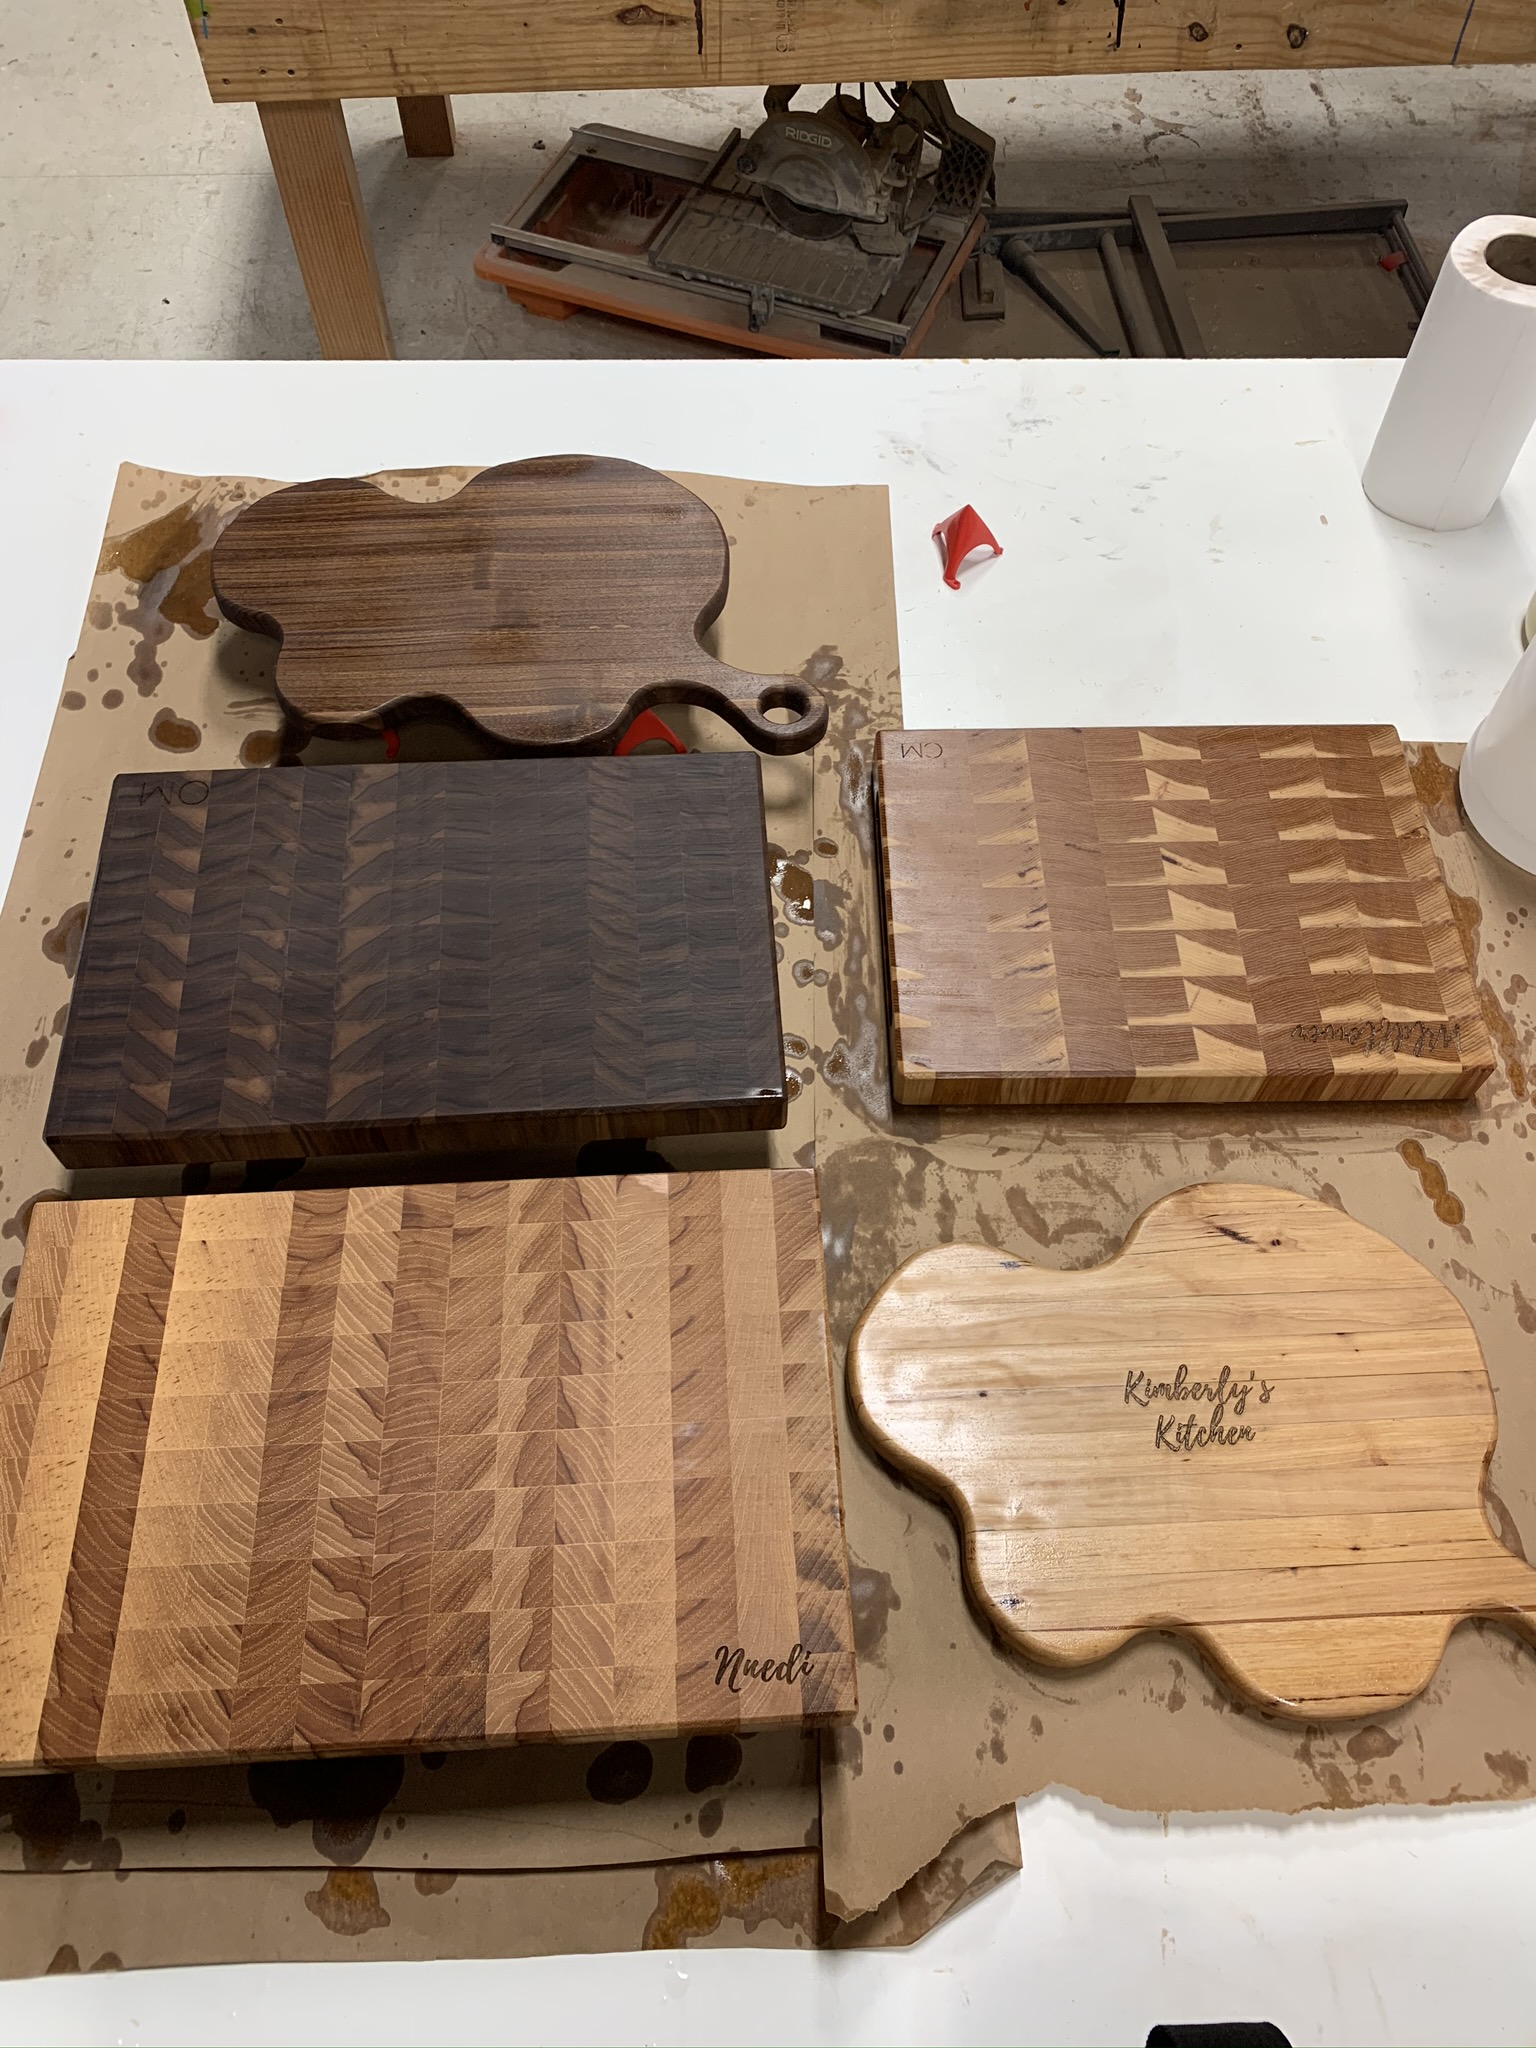
I sell cutting boards online so I’d been doing a bunch of them before the holiday. Ready to start trying some new projects though. https://www.etsy.com/shop/WildflowerWoodworker?ref=seller-platform-mcnav#
6 Likes
Meagan, I use Liquid Glass epoxy as you can do 2” pours at once. It is a 2:1 mix ratio with a long set up time. There was just a 35% off discount for the holidays so that would help with the $259 “normal” price on their 3 Ga kit. This desktop was 8.5L that I did all at once.

3 Likes
@cmadisondesigns Thanks Cierra! It was a fun project for sure. Making a big project like a bed is not much more technically difficult than smaller things, but it definitely is more cumbersome and small errors can really show in the larger format, like getting angles wrong or something. That said, if you’re careful the sheer size of the wood you need is the main annoying part. If I did it again, I’d figure out a better way to connect the long runners on the sides to the headboard and footboard assemblies, as the method I chose was a bit tricky to get right. Let me know if you think about trying it or if you want any other advice!
1 Like

@TravisGood Austin School of Furniture and Design has had some recent classes on kumiko, keep a lookout for more of them in the future if you’re interested in being more of a purist… maybe in some not-to-distant future they will even be taught in meatspace.
2 Likes
Is it OK with everyone if I use pictures from this thread in the sizzle reel for TWF this Saturday? Tagging people who posted pictures, feel free to lazily consent by hearting this post. ![]()
@TravisGood @gordoa40 @r1b4z01d @LivingOnTheEdgeKupec @dash3811 @friedman_js @stepho @wynd @jamesfreeman @JakeJ @axel @cmadisondesigns
Also happy to throw a instagram handle on these if people want, just reply with your handle to let me know. Also if anyone has more picture, particularly pictures of the build in process at the shop, I would love to add those as well. You can post here or in this post below.
Thank you!!
6 Likes